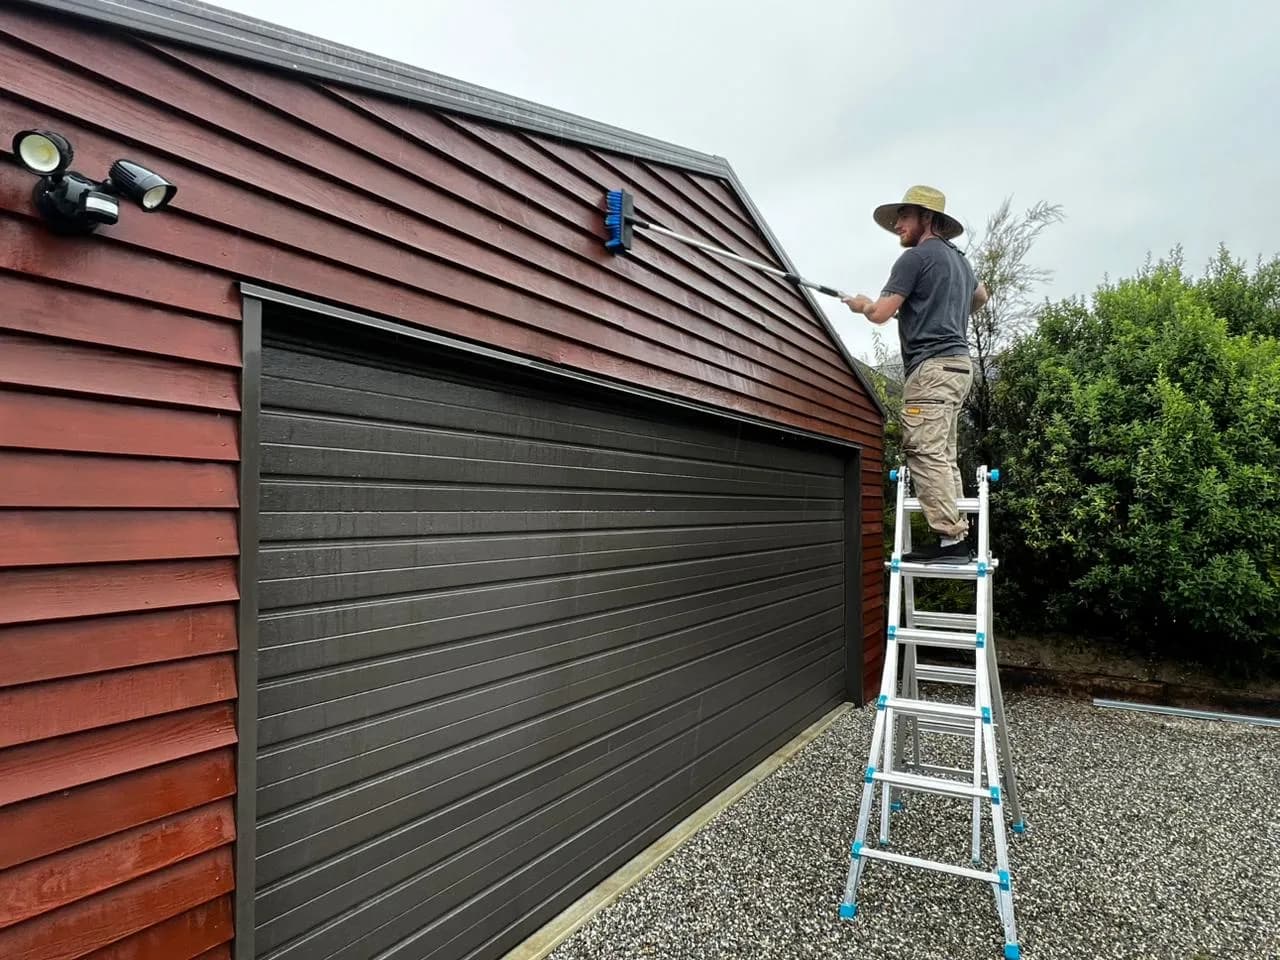
How to Wash Cedar Cladding Without Wrecking It (A Painter's Method)
Bradley Hamilton
Lakeside PaintingThe most expensive damage I see on cedar homes around Wānaka usually isn't the sun's work. It's the cleaning.
Twice in the last year I've been called to cedar that a well-meaning owner "freshened up" before ringing a painter. One had gone over the whole north face with a domestic waterblaster. The other had sprayed the shady side with a supermarket house-wash product and let it dry in. Both thought they were saving me a job. Both turned a straightforward clean-and-recoat into days of extra prep.
Here's the frustrating part: every cedar guide in New Zealand says the same thing — soft wash it once a year. Almost none of them tell you what that actually means, what to put in the bucket, or what to never let near the timber. So this is that post. The exact method, the products, and the three common "cleaners" that quietly wreck cedar.
Why cedar punishes shortcuts
Cedar's whole appeal is also its weakness: it's a soft, low-density timber. That's why it machines beautifully, sits still without warping, and insulates well — and it's why treatment that a concrete path or even a painted weatherboard would shrug off will physically tear cedar apart.
There's a second thing worth knowing. On a stained or oiled cedar wall, the protection is thin. A penetrating oil lives in the top few millimetres; the pigment doing the UV work is basically a surface layer. Aggressive cleaning doesn't just remove dirt — it removes the coating you paid for, unevenly, which is how walls end up blotchy. (If you want the full picture of how cedar's structure and coatings interact, that's The Chemistry of Cedar.)
So the rule for everything below: the job of a cedar wash is to kill and lift the organic grime sitting on the surface — not to blast, bleach or scour the surface itself.
The three things that wreck cedar
1. The waterblaster
The big one. A domestic waterblaster concentrates enough pressure to tear the soft earlywood out from between the harder grain lines. The result is called furring — the surface goes fuzzy with raised, torn fibres. It might look "clean" while wet, but a furred surface holds dirt and moisture better than ever, gives mould a perfect footing, and takes stain patchily. Once cedar's furred, the fix is sanding the whole face back. You cannot rinse your way out of it.
Professional cedar wash crews do use low-pressure rigs — but that gear is running fan tips at pressures closer to a strong garden hose, doing the work with chemistry and dwell time, not force. A domestic blaster with a homeowner on the trigger is a different machine entirely. Just don't.
2. Chlorine bleach — including most spray-on house washes
This is the sneaky one, because the damage doesn't show up for months. Most supermarket exterior cleaners — including the classic green-bottle spray-and-walk-away products — are based on sodium hypochlorite, which is chlorine bleach.
Chlorine kills mould, sure. But on bare or weathered timber it also attacks lignin — the natural glue holding the wood fibres together and the exact thing UV is already destroying. You're speeding up the weathering you're trying to fight. Worse, if the solution dries on the wall (easy on a hot Central Otago day), hypochlorite salts crystallise in the surface fibres, and coatings applied over that residue bond badly. I've seen more than one stain failure that traced back to a bleach wash the summer before.
These products have their place — on painted surfaces, concrete, roofs. On cedar, no.
3. Scouring at it
Wire brushes, stiff-bristle deck brooms, aggressive scrubbing — same story as the waterblaster, just slower. Cedar's earlywood scratches and furs under hard bristles. Soft is the whole point.
What actually works: the annual soft wash
For a cedar wall in reasonable condition — coated in the last few years, no major mould — the yearly maintenance wash is genuinely simple. Budget a morning for an average single-storey home.
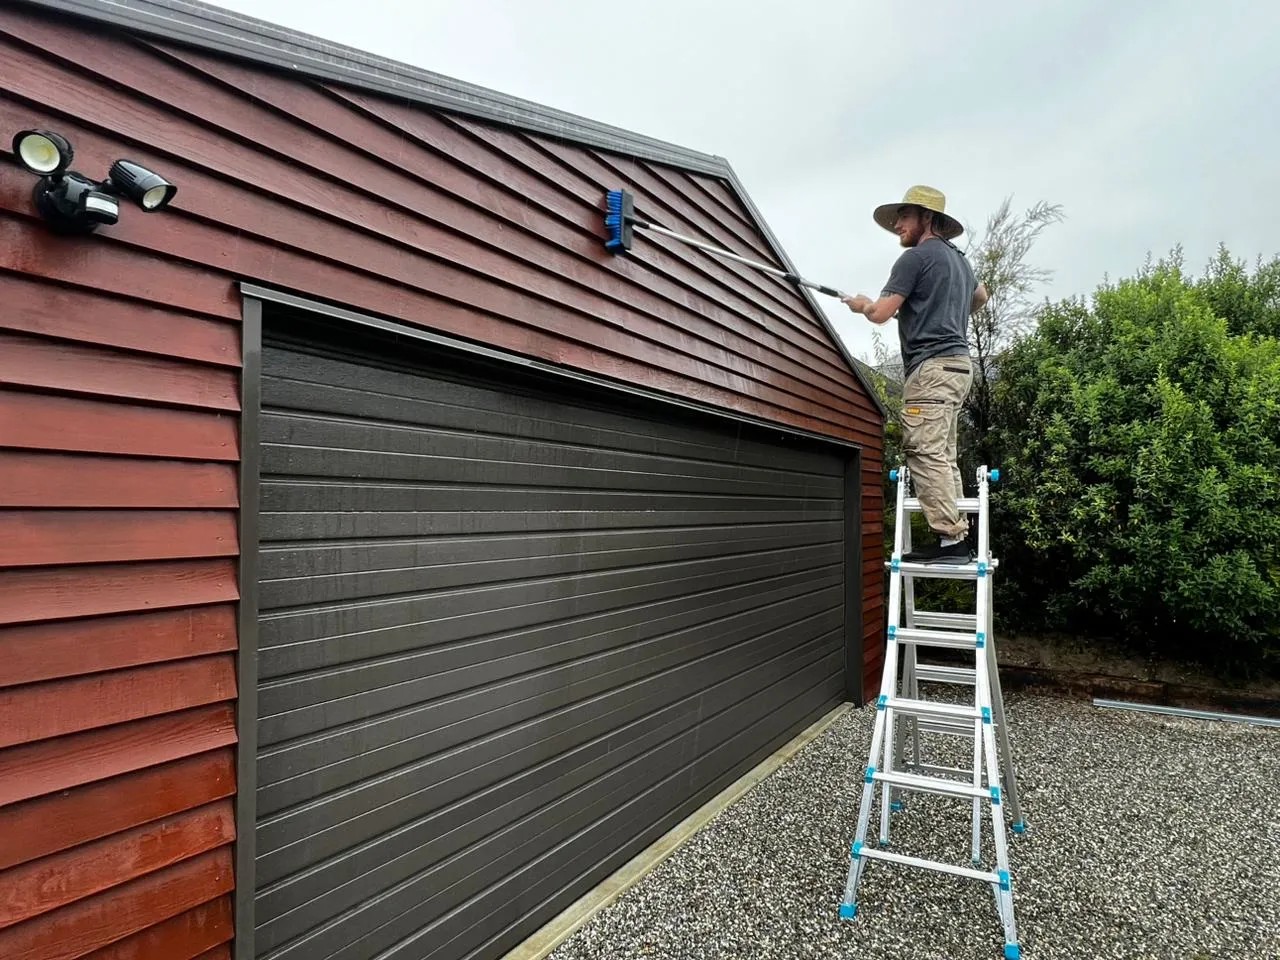
You need: a garden hose, a soft-bristle broom or car-wash brush (ideally on a pole), a bucket, and a mild detergent. A splash of dishwashing liquid or a gentle vehicle wash is fine. Nothing labelled "moss and mould killer" unless you've checked it's not hypochlorite-based.
The method:
- Pick a mild, overcast day. You want the wall staying wet while you work. Hot sun flash-dries detergent onto the timber, and that streaks.
- Rinse the whole face first, top to bottom, with the hose on a normal spray. This floats off loose dust and pollen so you're not grinding it in with the brush.
- Wash bottom-up, rinse top-down. Working the detergent from the bottom of the wall upward stops dirty runs streaking down dry timber, which can leave marks that are weirdly hard to shift. Then rinse from the top so everything sheets off.
- Light pressure, with the grain. Let the detergent and the bristle tips do the work. You're wiping a surface, not scrubbing a pot.
- Rinse thoroughly. Detergent residue left behind attracts dirt and can interfere with the next coat of oil.
That's it. Done yearly, this single habit is the cheapest cedar maintenance there is — it strips off the grime and spores that mould feeds on and resets the clock on the coating. Skipped for a few years, it's a big part of why faces go black and restains get expensive.
Stepping up: the mouldy or weathered face
If a shaded face has gone patchy grey-black with surface mould, or the timber's weathered and grey ahead of a recoat, a detergent wash won't cut it. This is where the proper timber chemistry comes in — and it's a two-step.
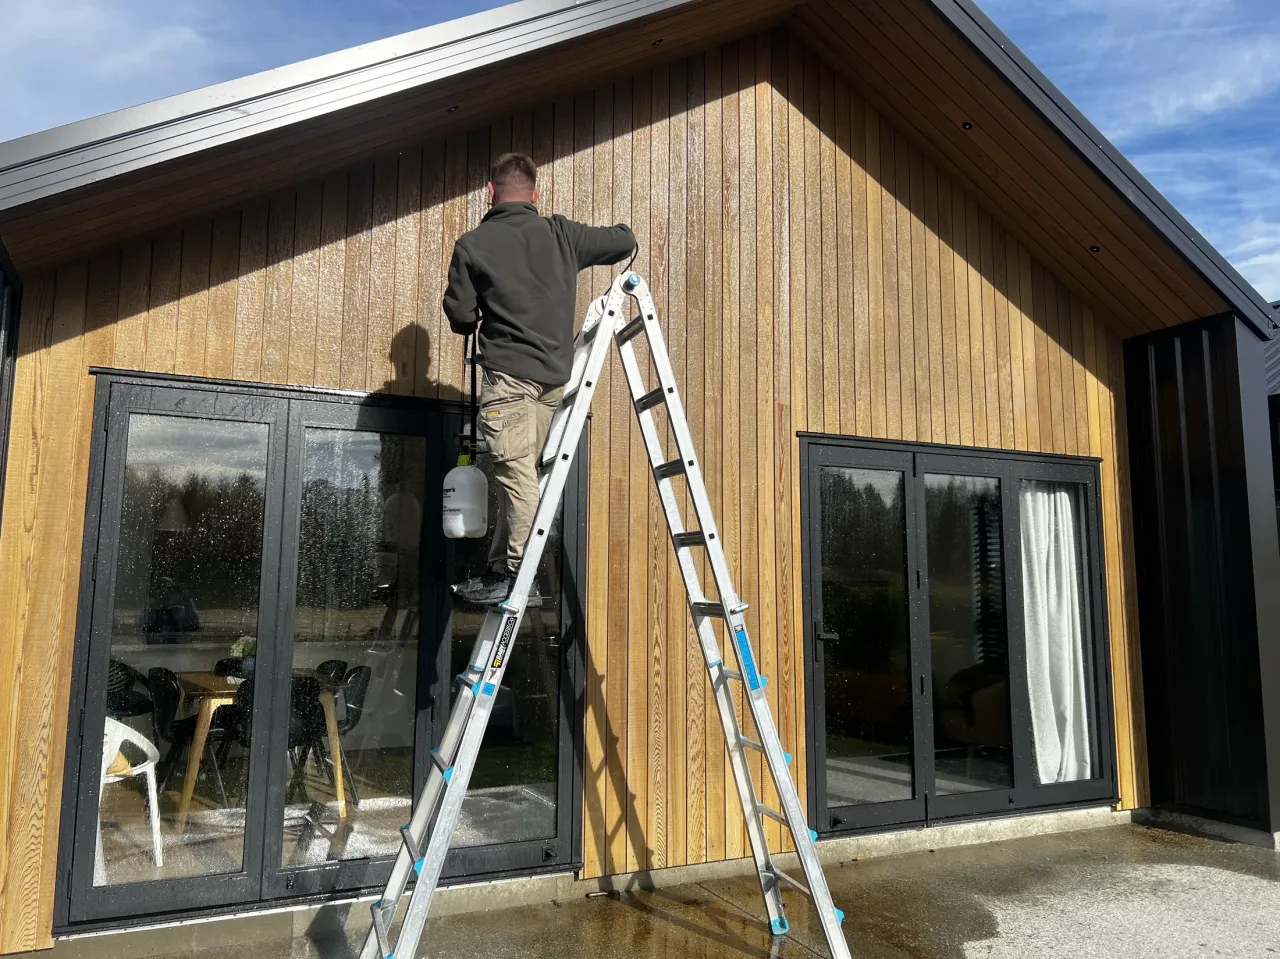
Step one: an oxygenated cleaner. The active ingredient to look for is sodium percarbonate — "oxygen bleach". Mixed with water it releases hydrogen peroxide, which kills mould and lifts the grey, oxidised surface layer without the fibre damage chlorine causes. Dryden's timber wash products and most dedicated "timber clean" products at the paint store are built on this chemistry. Mix per the label in warm water, apply generously with a brush or pump sprayer, keep it wet for the dwell time (usually 15–20 minutes), give it a gentle scrub, and rinse well with the hose.
Step two: a timber brightener. Percarbonate is alkaline, and it can leave cedar looking darker and slightly coffee-stained from disturbed tannins. An oxalic acid brightener neutralises the surface back to cedar's natural slightly-acid pH and lifts tannin marks — it's also the same treatment that shifts the blue-black iron stains that show up under non-stainless nails. Apply, short dwell, rinse thoroughly. Two cautions: keep it off aluminium joinery and glass (rinse immediately if it gets there), and wet down any plants below before you start.
If you're doing this as prep for re-oiling, let the timber dry properly afterwards — in our climate that's typically two or three clear days, longer in the shoulder seasons.
What a wash can't fix
This matters, because "I washed it and it's still dark" is one of the most common calls I get.
A wash removes what's sitting on the timber: dirt, pollen, mould, oxidised grey fibre. It cannot remove what's gone in the timber. Dark weathering under eaves and soffits — where UV breakdown products have piled up for years with no rain to rinse them — is stained into the surface and needs to be cut back by sanding or brightener, not scrubbed. Same for a film-forming coating that's failing: no wash rescues a peeling film. If you're not sure which situation you've got, the wet-scrub test and the full diagnosis walk-through are in Grey, Brown or Black? How to Read What's Actually Happening to Your Cedar, and the line between a wash-and-recoat and a proper restoration is covered in Cedar Oil Refresh vs Full Restoration.
Brad's take: if a gentle wash brings sound timber back, you were dealing with surface grime — carry on to the recoat. If it changes nothing, stop. More force is not the answer, and this is the exact point where waterblasters come out and expensive damage happens. What you need now is prep, not pressure.
The quick version
Once a year, hose and soft brush with mild detergent, bottom-up, rinse well — never a waterblaster, never a chlorine-based house wash, never a wire brush. For mould or grey weathering, a percarbonate cleaner followed by an oxalic brightener, then proper drying time before any coat. And if washing doesn't shift it, the problem's in the wood, not on it — that's a prep job.
If your cedar's due a proper clean before a recoat, or you've washed it and something still doesn't look right, that's bread-and-butter work for us around Wānaka, Hāwea and Queenstown. We run it as a standalone service through Lakeside Cedar — the exact soft-wash method above, once a year, no pressure gear anywhere near the timber. Get in touch and I'll tell you straight whether it's a hose job or something more.
Be gentle with it. The cedar will pay you back.
— Brad

About the Author
Bradley Hamilton
Bradley Hamilton has been staining and restoring cedar across Central Otago for 15 years. From maintenance oil refreshes to full strip-and-restains, he's worked through every product on the market in this climate and writes about what actually holds up. He also runs Lakeside Painting in Wānaka.
Visit Lakeside Painting
Comments
Join the conversation by signing in
No comments yet.
Be the first to share your thoughts!