Bradley Hamilton
Lakeside Painting
Why Your Brush Choice Actually Matters
Walk into Bunnings or Mitre 10, and you'll find paint brushes ranging from $3 to $60. Same size, same general shape, wildly different prices. What gives?
Here's the uncomfortable truth: that $3 brush will cost you far more than $60 by the time you're done. You'll spend twice as long painting. You'll leave brush marks in your finish. You'll pick bristles out of your wet paint while muttering things that would make your grandmother blush. And then you'll probably have to sand it back and start again.
The right brush doesn't just make painting easier - it makes professional results actually achievable for DIYers. The wrong brush makes professional results impossible, regardless of your skill level.
So let's break down exactly what you need to know about paint brushes, without the marketing fluff.
Bristle Types: The Single Most Important Decision
Forget size. Forget shape. Forget brand. The bristle material is what separates a quality finish from a dodgy one.
Natural Bristles (Animal Hair)
Natural bristle brushes are made from animal hair - typically hog (also called China bristle), ox, or badger. The bristles have natural "flags" (split ends) that hold more paint and release it smoothly.
Best for: Oil-based paints, stains, varnishes, polyurethane, and solvent-based products.
Terrible for: Water-based paints. Natural bristles absorb water, swell up, and go limp. Your crisp cutting-in brush becomes a soggy mop. Not ideal.
What to look for:
- Hog bristle for general oil-based work (most common and affordable)
- Ox hair for fine finishing work (softer, smoother finish)
- Badger hair for premium varnish work (expensive, but beautiful finish)
Price range: $15-$80 depending on quality and hair type.
Synthetic Bristles (Nylon, Polyester, or Blends)
Synthetic brushes are made from nylon, polyester, or a blend of both. Modern synthetics have come a long way - the good ones now rival natural bristles for finish quality.
Best for: Water-based paints (acrylics, latex), though quality synthetics work with oil-based too.
Why they work: Synthetics don't absorb water, so they maintain their shape and stiffness throughout your painting session. The bristles are also engineered with flagged tips to mimic natural bristles.
The nylon vs polyester breakdown:
- Pure nylon: Softer, better for smooth finishes, but can go floppy in heat
- Pure polyester: Stiffer, holds shape in heat, but can leave more brush marks
- Nylon/polyester blend: The Goldilocks option - combines the best of both. This is what most quality brushes use.
Price range: $8-$60 depending on quality.
The Quick Decision Matrix
| Your Paint Type | Your Brush Choice |
|---|---|
| Water-based interior paint | Synthetic (nylon/poly blend) |
| Water-based exterior paint | Synthetic (polyester-heavy for heat resistance) |
| Oil-based enamel | Natural bristle or quality synthetic |
| Stain or varnish | Natural bristle |
| Primer (water-based) | Synthetic |
| Primer (oil-based) | Natural bristle |
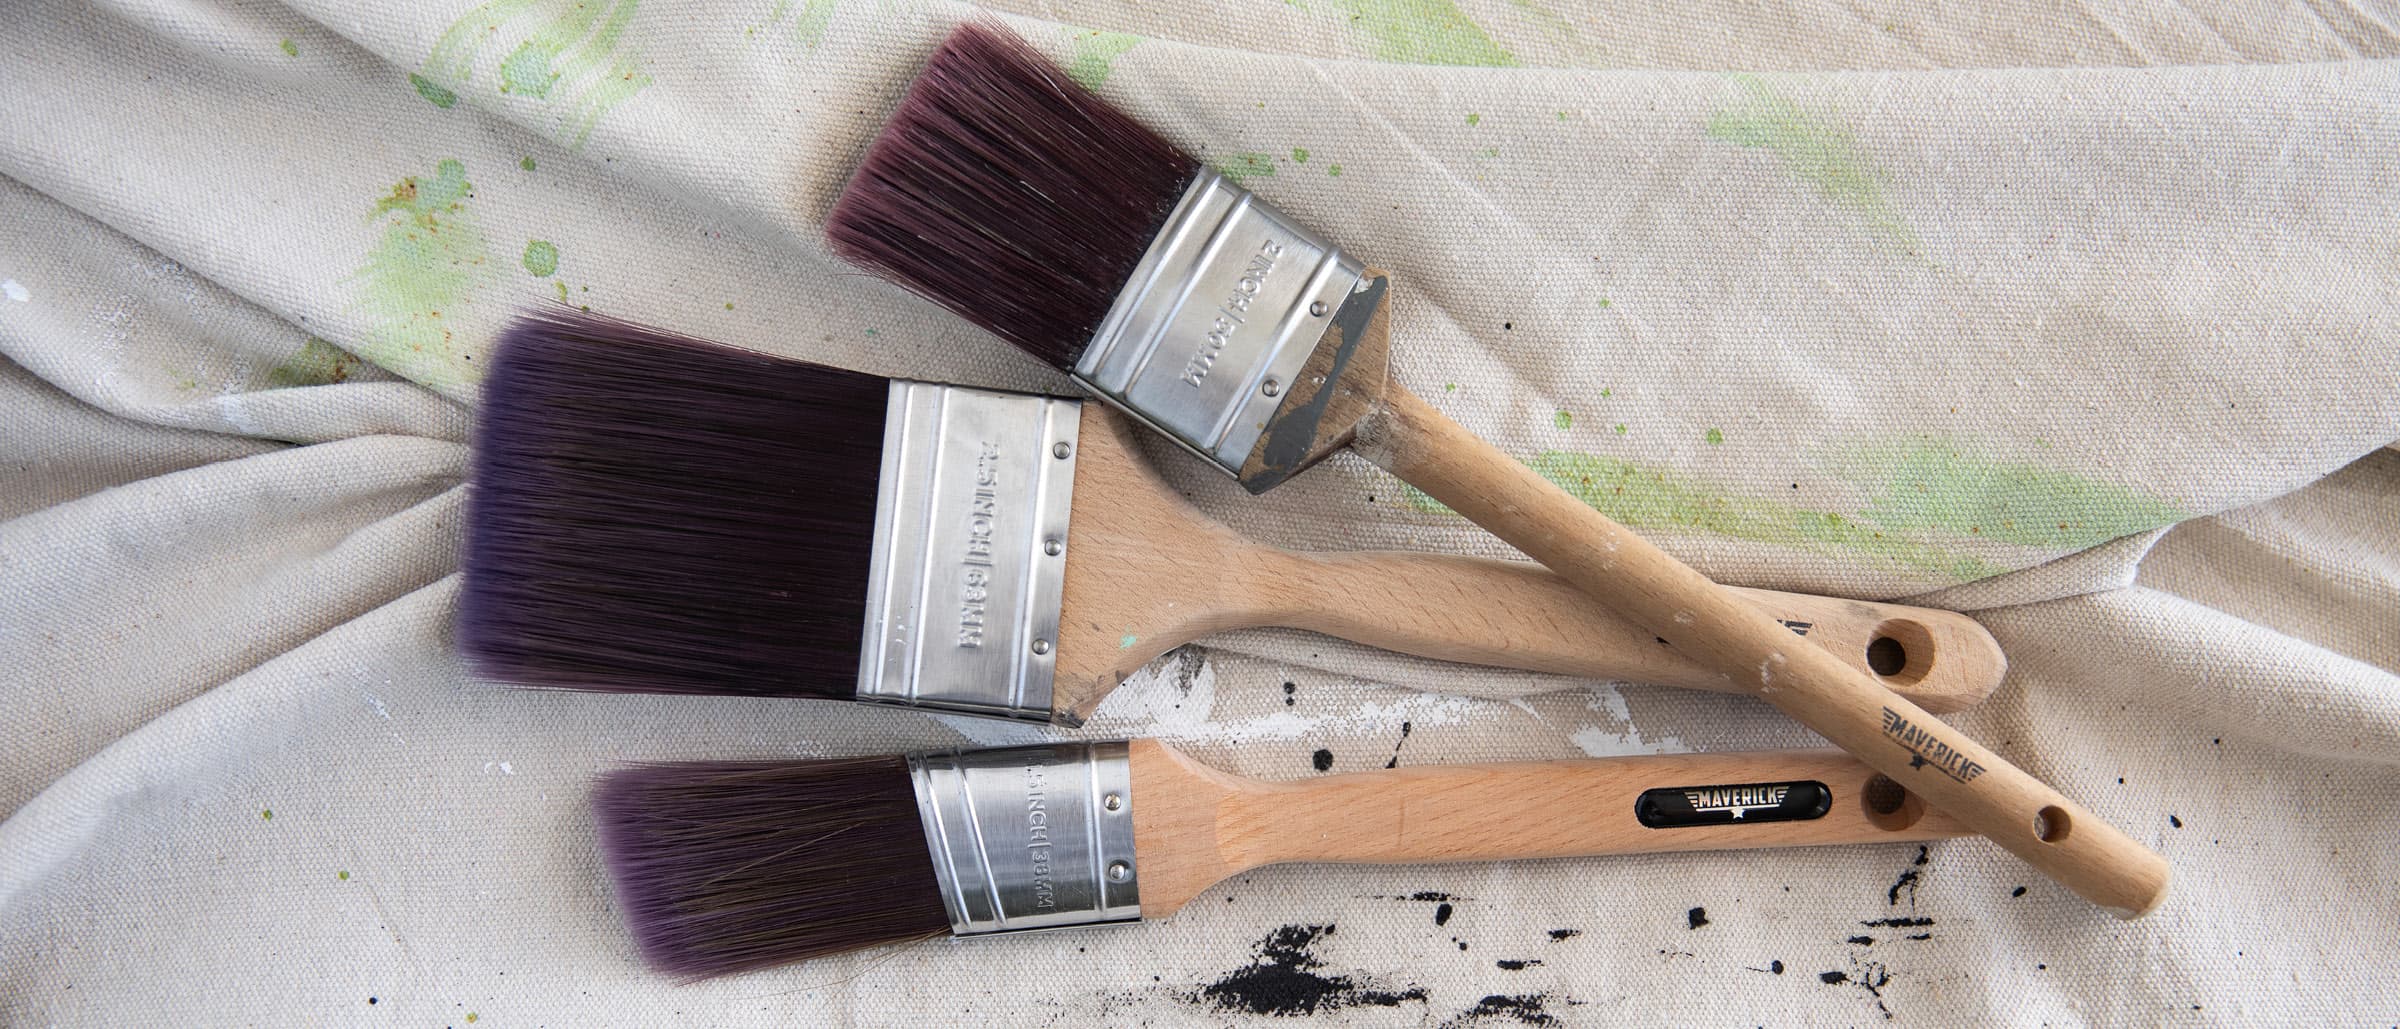
Brush Shapes: Matching Form to Function
Flat Brushes (Also Called "Wall Brushes")
The workhorse. Flat brushes have a rectangular profile with bristles of uniform length across the edge.
What they're for:
- Large flat surfaces
- General wall painting
- Applying primer to broad areas
- Anywhere you need to cover ground quickly
Common sizes: 50mm, 63mm, 75mm, 100mm
The reality check: If you're painting walls, you should be using a roller for 90% of the work. Flat brushes are for cutting in edges and corners before you roll.
Angled Brushes (Also Called "Sash Brushes" or "Cutting-In Brushes")
The precision instrument. Angled brushes have bristles cut at an angle, creating a sloped edge.
What they're for:
- Cutting in along ceilings, corners, and edges
- Window frames and sashes (hence the name)
- Trim work
- Any detailed work requiring control
Common sizes: 38mm, 50mm, 63mm
Why the angle matters: The angled edge lets you see exactly where your paint line is going. With a flat brush, your hand blocks your view. With an angled brush, you're painting with your line of sight clear. It's the difference between guessing and knowing.
Round Brushes (Also Called "Sash Brushes" - Confusingly)
Round brushes have a circular ferrule (the metal bit) and come to a tapered point.
What they're for:
- Detail work on spindles, balusters, and turned timber
- Decorative mouldings with complex profiles
- Touch-ups
- Cutting in tight corners
Common sizes: 20mm, 25mm, 38mm
When you'd actually use one: If you're painting a staircase with turned balusters, a round brush will wrap around the curves and get into the grooves. A flat brush will miss half of it and leave you with uncoated timber showing through.
Oval Brushes
Somewhere between flat and round. Oval brushes have a slightly curved bristle profile.
What they're for:
- All-round general work
- People who want one brush to do everything (spoiler: it won't)
Honest assessment: Oval brushes are a compromise. They don't cut in as well as angled brushes. They don't cover as efficiently as flat brushes. They don't handle detail as well as round brushes. They're fine, but "fine" isn't what you want when you're painting your house.
Size Matters (But Not How You Think)
Bigger isn't always better. The right brush size depends on what you're painting, not on how fast you want to finish.
The Size Guide
25mm (1 inch):
- Touch-ups
- Tight corners
- Small detail work
- Window glazing bars
38mm (1.5 inches):
- Window frames
- Narrow trim
- Detailed cutting in
- Spindles and balusters
50mm (2 inches):
- General cutting in
- Standard trim and skirting
- Door frames
- The size most DIYers should reach for first
63mm (2.5 inches):
- Wider trim
- Faster cutting in on walls
- Doors (if you're brushing, not rolling)
75mm-100mm (3-4 inches):
- Large flat areas
- Priming broad surfaces
- Exterior weatherboards (where a roller won't reach)
The Common Mistake
Most DIYers grab a brush that's too big for the job. They think a bigger brush will be faster. In reality:
- A too-big brush is harder to control
- It holds more paint than you can apply evenly
- It's heavier and tires your hand faster
- You'll make more mistakes and spend more time fixing them
For cutting in around a ceiling? A 50mm angled brush is about right for most people. Going bigger won't make you faster - it'll make you sloppier.
Anatomy of a Quality Brush (What to Actually Look For)
The Bristles
Flagged tips: Look at the ends of the bristles. Quality brushes have split or flagged tips that hold more paint and release it smoothly. Cheap brushes have blunt-cut bristles that leave streaks.
Density: Fan out the bristles. There should be no gaps or thin spots. A dense brush holds more paint and gives better coverage.
Taper: Bristles should be longer in the center and shorter at the edges, creating a natural taper. This helps the brush form a clean edge when loaded with paint.
Length: Longer bristles (50-70mm) are more flexible and better for finishes. Shorter bristles (under 50mm) are stiffer and better for textured surfaces.
The Ferrule (The Metal Bit)
Material: Stainless steel or nickel-plated steel won't rust. Plain steel will rust with water-based paints.
Attachment: The ferrule should be solidly attached to the handle. Press the bristles against your hand - if the ferrule moves or feels loose, walk away.
Sealed: Better brushes have a sealed ferrule that prevents paint seeping inside and hardening.
The Handle
Material: Wood or composite. Wood feels better but can swell with water. Composite is more stable but often feels plasticky.
Shape: The handle should fit comfortably in your hand. You'll be holding it for hours.
Balance: Hold the brush like you're painting. Does it feel balanced, or is it handle-heavy?
Length: Longer handles give more reach for walls, shorter handles give more control for detail work.
The Price vs Quality Reality
Let's be direct about what you're paying for at different price points.
Budget Brushes ($3-$10)
What you get:
- Bristles that shed into your paint
- Poor paint pickup and release
- Visible brush marks
- A brush that's unusable after one job
- Frustration
When they're acceptable: Genuinely disposable applications. Applying fence stain you'll never see up close. Priming surfaces that will be covered. Anything where finish quality truly doesn't matter.
Mid-Range Brushes ($12-$25)
What you get:
- Decent bristle quality
- Acceptable finish for most DIY work
- Reusable if cleaned properly
- Good enough for most homeowners
The sweet spot: For a typical DIY interior repaint, a $15-20 brush from a reputable brand will serve you well. You don't need professional-grade tools for a single project.
Professional Brushes ($30-$60+)
What you get:
- Excellent bristle quality and consistency
- Superior paint pickup and smooth release
- Minimal brush marks
- Lasts for years with proper care
- The finish quality professionals demand
When they're worth it: If you're painting multiple rooms, doing exterior work, or want the best possible finish. The brush will outlast dozens of cheaper alternatives if maintained.
The Real Cost Calculation
That $3 brush will probably ruin one wall before you throw it away in frustration. The $40 brush will still be going strong five years from now.
If you're painting your house once every decade, buy mid-range. If you're regularly tackling painting projects, invest in quality.
Brush Care: Making Them Last
A $40 brush treated badly lasts one job. A $40 brush treated well lasts a decade.
During the Job
Don't overload: Dip only the first third of the bristles into paint. Loading to the ferrule is a recipe for drips, waste, and a brush that's impossible to clean.
Don't let it dry: If you're taking a break (even 15 minutes), wrap the brush in cling film or a plastic bag. Paint drying in the bristles is the beginning of the end.
Tap, don't wipe: After loading, tap the brush against the inside of the can rather than wiping it across the rim. Wiping removes too much paint and splays the bristles.
Cleaning
Water-based paint:
- Squeeze excess paint out of bristles
- Rinse under running water, working from ferrule to tips
- Work a few drops of dish soap through the bristles
- Rinse until water runs clear
- Reshape bristles and dry flat or hanging
Oil-based paint:
- Wipe excess paint onto newspaper
- Swirl in mineral turps, then squeeze out
- Repeat with fresh turps until clean
- Final wash with warm soapy water
- Rinse, reshape, dry flat or hanging
The critical mistake: Never stand a brush on its bristles to dry. Ever. The bristles will set at weird angles and your brush is ruined.
Storage
Short term (overnight): Wrap in cling film with bristles straight.
Long term: Use the original sleeve or wrap in paper. Store hanging by the handle or lying flat. Never store bristles-down in a container.
Common Brush Mistakes (And How to Avoid Them)
Mistake 1: Using Natural Bristles with Water-Based Paint
The bristles swell, go soft, and lose their shape. Your precision cutting-in brush becomes a blunt instrument. Always match bristle type to paint type.
Mistake 2: Not Breaking In a New Brush
New brushes often have loose bristles that will shed into your paint. Before first use, spin the brush between your palms to dislodge loose bristles, then work the brush back and forth across your palm or a clean surface. Get the shedding out before it ends up in your finish.
Mistake 3: Pressing Too Hard
Let the paint do the work. Pressing hard splays the bristles, leaves brush marks, and wears out the brush faster. A light touch with a properly loaded brush gives a better finish with less effort.
Mistake 4: Painting in Both Directions
For the best finish, lay paint on in one direction, then lightly tip off (smooth out) in the opposite direction with just the tips of the bristles. Constantly switching directions creates an uneven, streaky finish.
Mistake 5: Not Cleaning Between Coats
If you're waiting hours between coats, clean your brush. Paint drying in the bristles affects performance, even if you can't see it yet.
The Practical Starter Kit
If you're setting up for a typical interior painting project, here's what you actually need:
Essential:
- 50mm angled synthetic brush (cutting in) - $15-25
- 75mm flat synthetic brush (trim and detail) - $12-20
Useful additions:
- 38mm angled brush (windows and tight spots) - $10-15
- 25mm round brush (spindles and detailed mouldings) - $8-12
Total investment: $45-70 for brushes that will handle most residential projects.
Compare that to buying cheap brushes that frustrate you, leave poor finishes, and get thrown away after each job. The quality kit pays for itself within two projects.
Once you've got the right brushes, the next step is knowing how to use them properly. My Complete Interior Painting Guide covers cutting-in technique, when to use a mini roller behind your brush work, and everything else you need to know for a professional finish.
The Bottom Line
A quality brush is one of the cheapest ways to dramatically improve your painting results. You can cheap out on drop sheets. You can cheap out on painter's tape. But cheap brushes will sabotage your finish no matter how carefully you work.
Know your bristle types. Match them to your paint. Choose a size appropriate to the job. Buy the best quality you can justify. Clean them properly.
Do that, and you'll be producing results that make the neighbours assume you hired a professional.
Looking for professional painting results without the DIY learning curve? In Queenstown, Little Dog Decorating uses professional-grade tools and techniques for flawless finishes every time. For Wanaka homeowners, Painters Wanaka brings 14+ years of experience and the right tools to every job.

About the Author
Bradley Hamilton
Bradley Hamilton brings over 14 years of experience in painting and decorating to homes across Queenstown and Central Otago. Having used thousands of brushes across hundreds of projects, he knows exactly which tools deliver professional results and which ones belong in the bin.
Comments
Join the conversation by signing in
No comments yet.
Be the first to share your thoughts!