What's on Your Interior Timber? How to Identify a Mystery Clear Coat Before Recoating
Bradley Hamilton
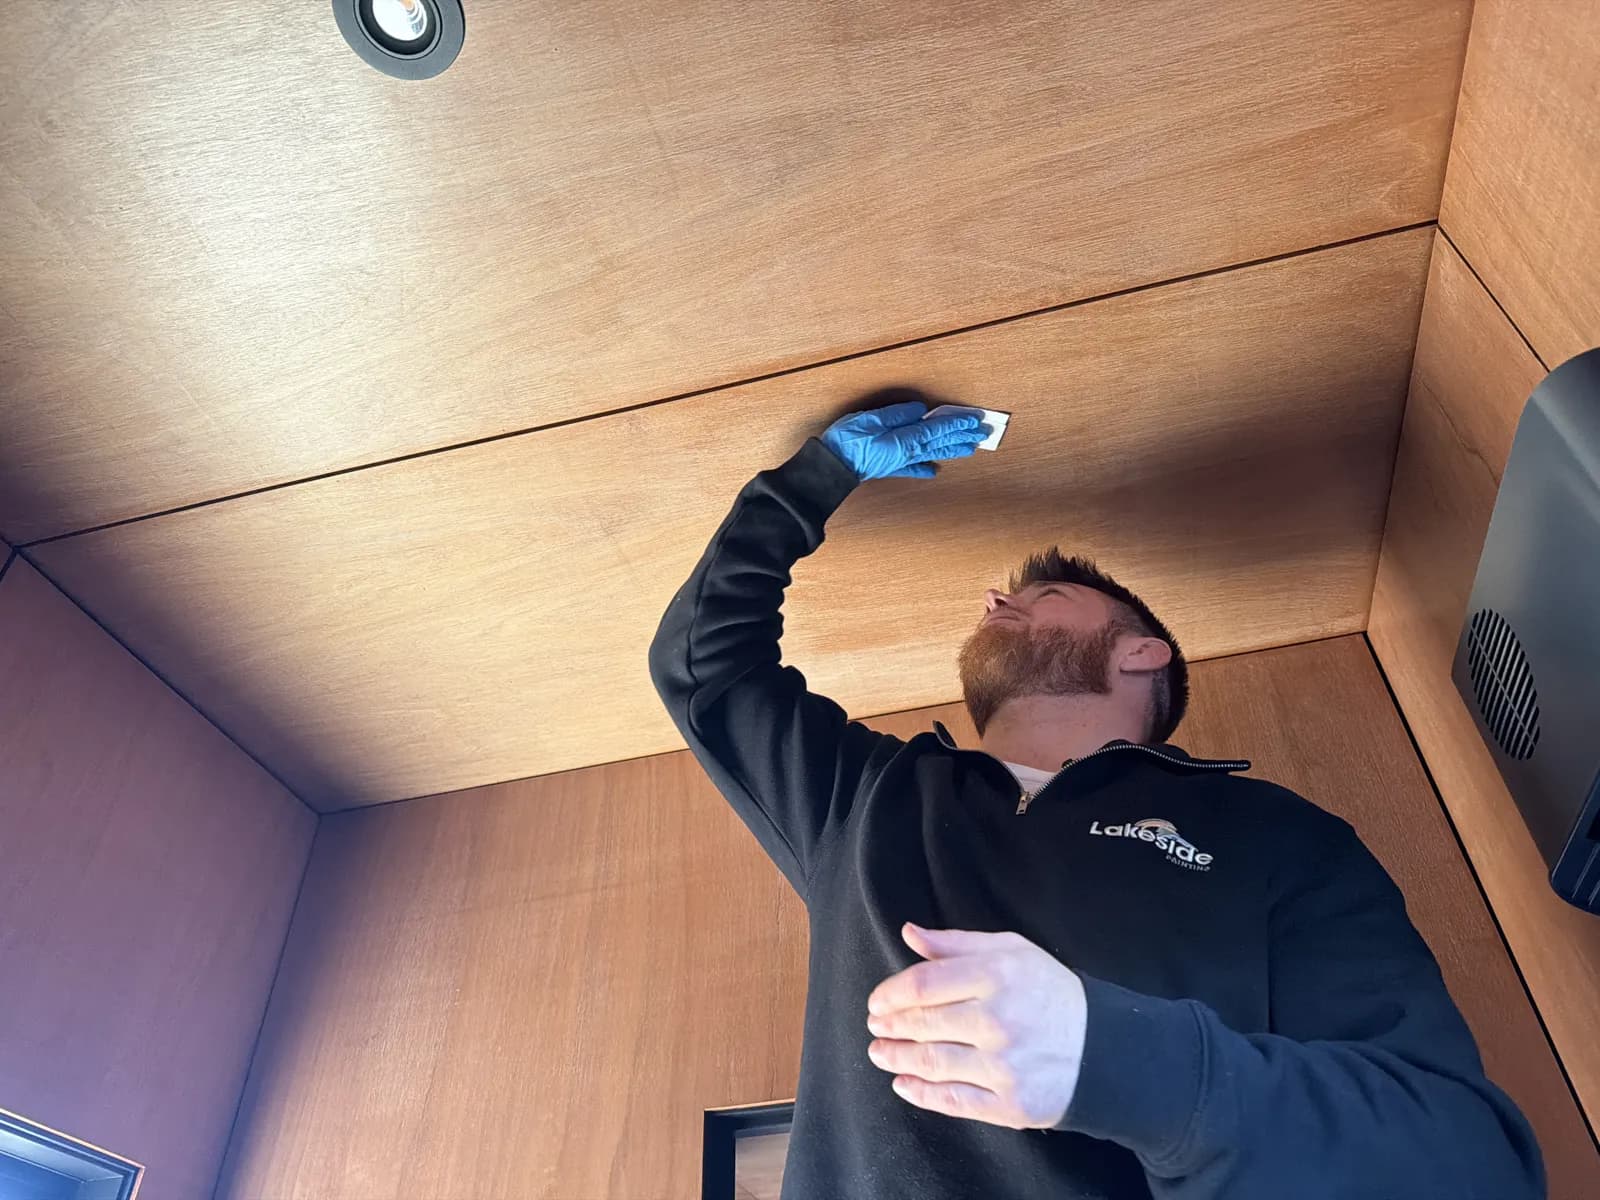
Lakeside PaintingWe recently finished a job in Wānaka that was almost entirely timber on the inside. Ply panel walls, timber ceilings, the lot. It's a stunning look, but it comes with a maintenance question most people never think about until it's a problem: what do you do when the clear protective coating starts to wear off, and nobody knows what product was used?
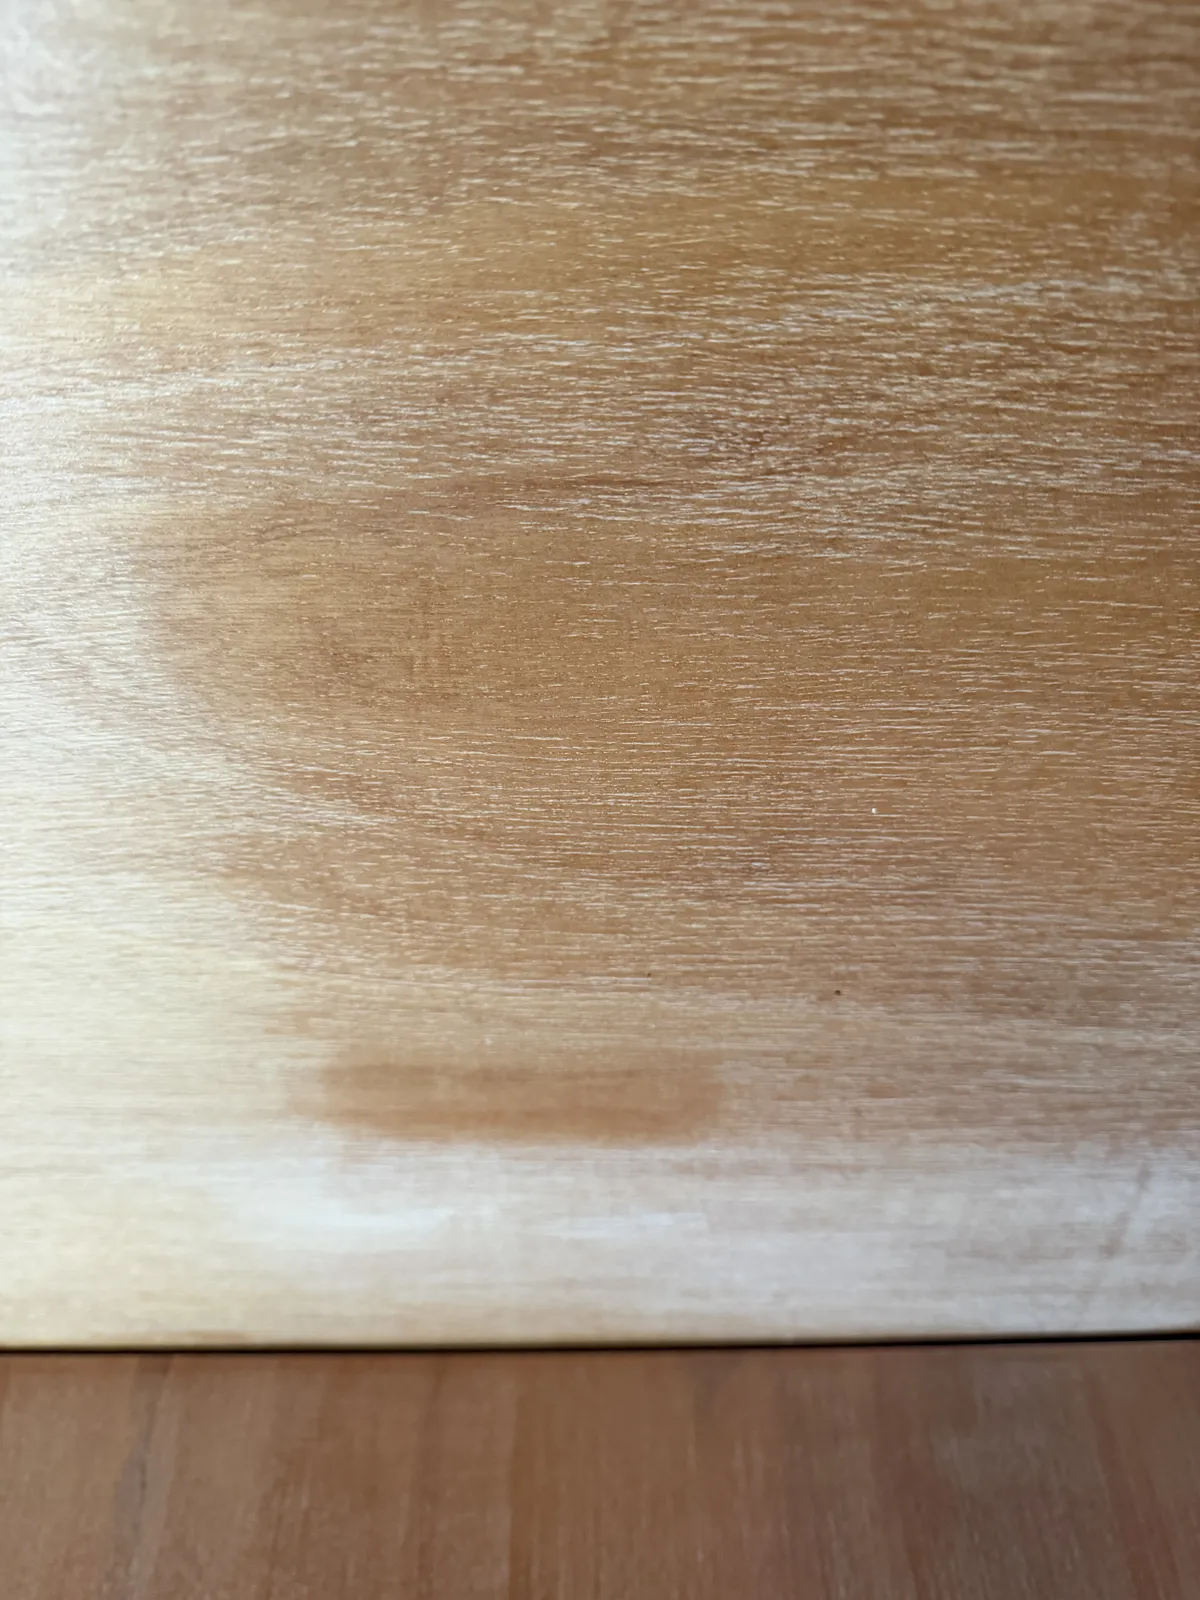
That's exactly where this house was at. The bathroom ceilings had taken years of steam off the showers and the coating was fading and drying out, with dull chalky patches showing up where the finish had worn thin. The job was to get the protection back before the timber itself started to suffer. And like most houses, there was no record of what had been used on it originally.
Why you can't just paint over a mystery coating
Clear finishes are less forgiving than paint. Put a waterborne clear over a fresh or waxy oil-based finish and it can bead up, refuse to grip, or peel off in a sheet a year later. Go the other way and you can get soft patches, slow drying, or a finish that never quite hardens. In a bathroom, where the ceiling gets steamed every day, a bad bond fails fast.
So before we quoted the recoat, we needed an answer: oil based or water based? We've written before about the difference between the two over on water-based vs oil-based paint, and the same chemistry applies to clear coats.
The good news is you don't need a lab. Two simple tests done on site will tell you nearly everything.
Test one: the sanding test
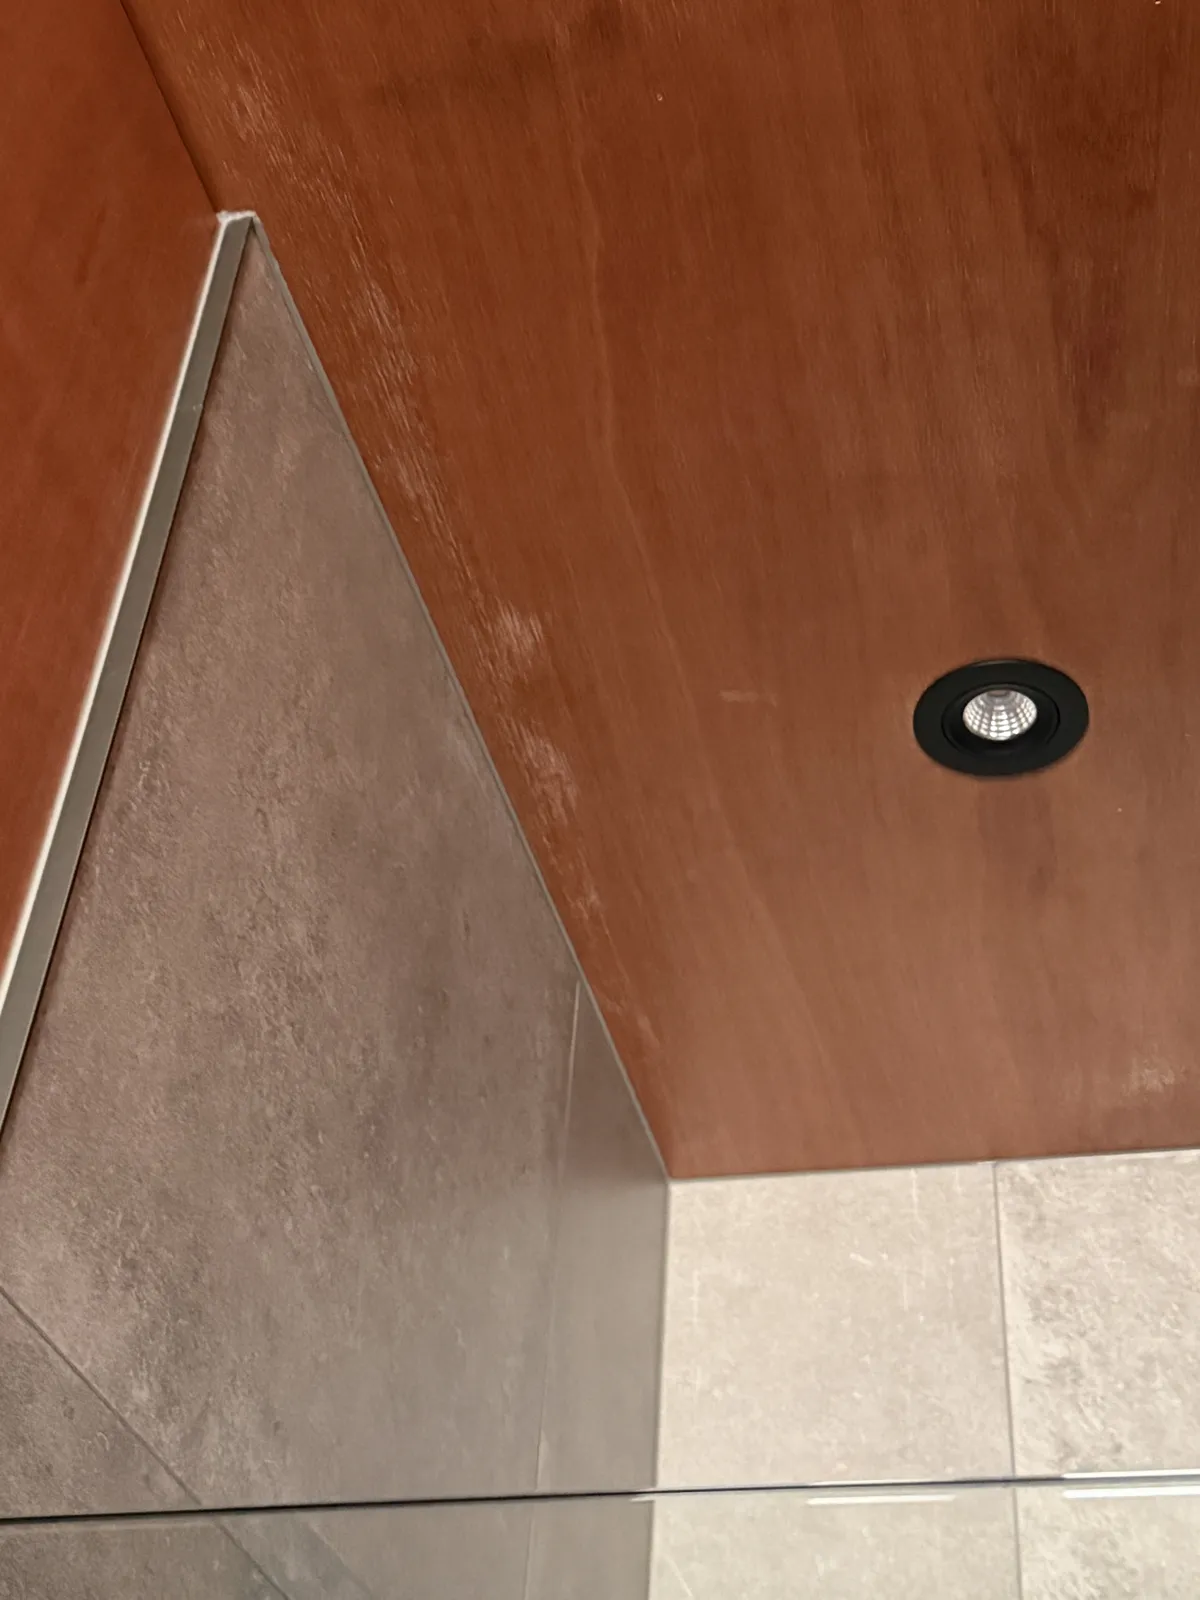
Pick an out-of-the-way spot and give the coating a light rub with fine sandpaper (we use 240 grit for this). You're not sanding the ceiling yet, you're just reading how the coating behaves. There are two possible results, and they tell you very different things.
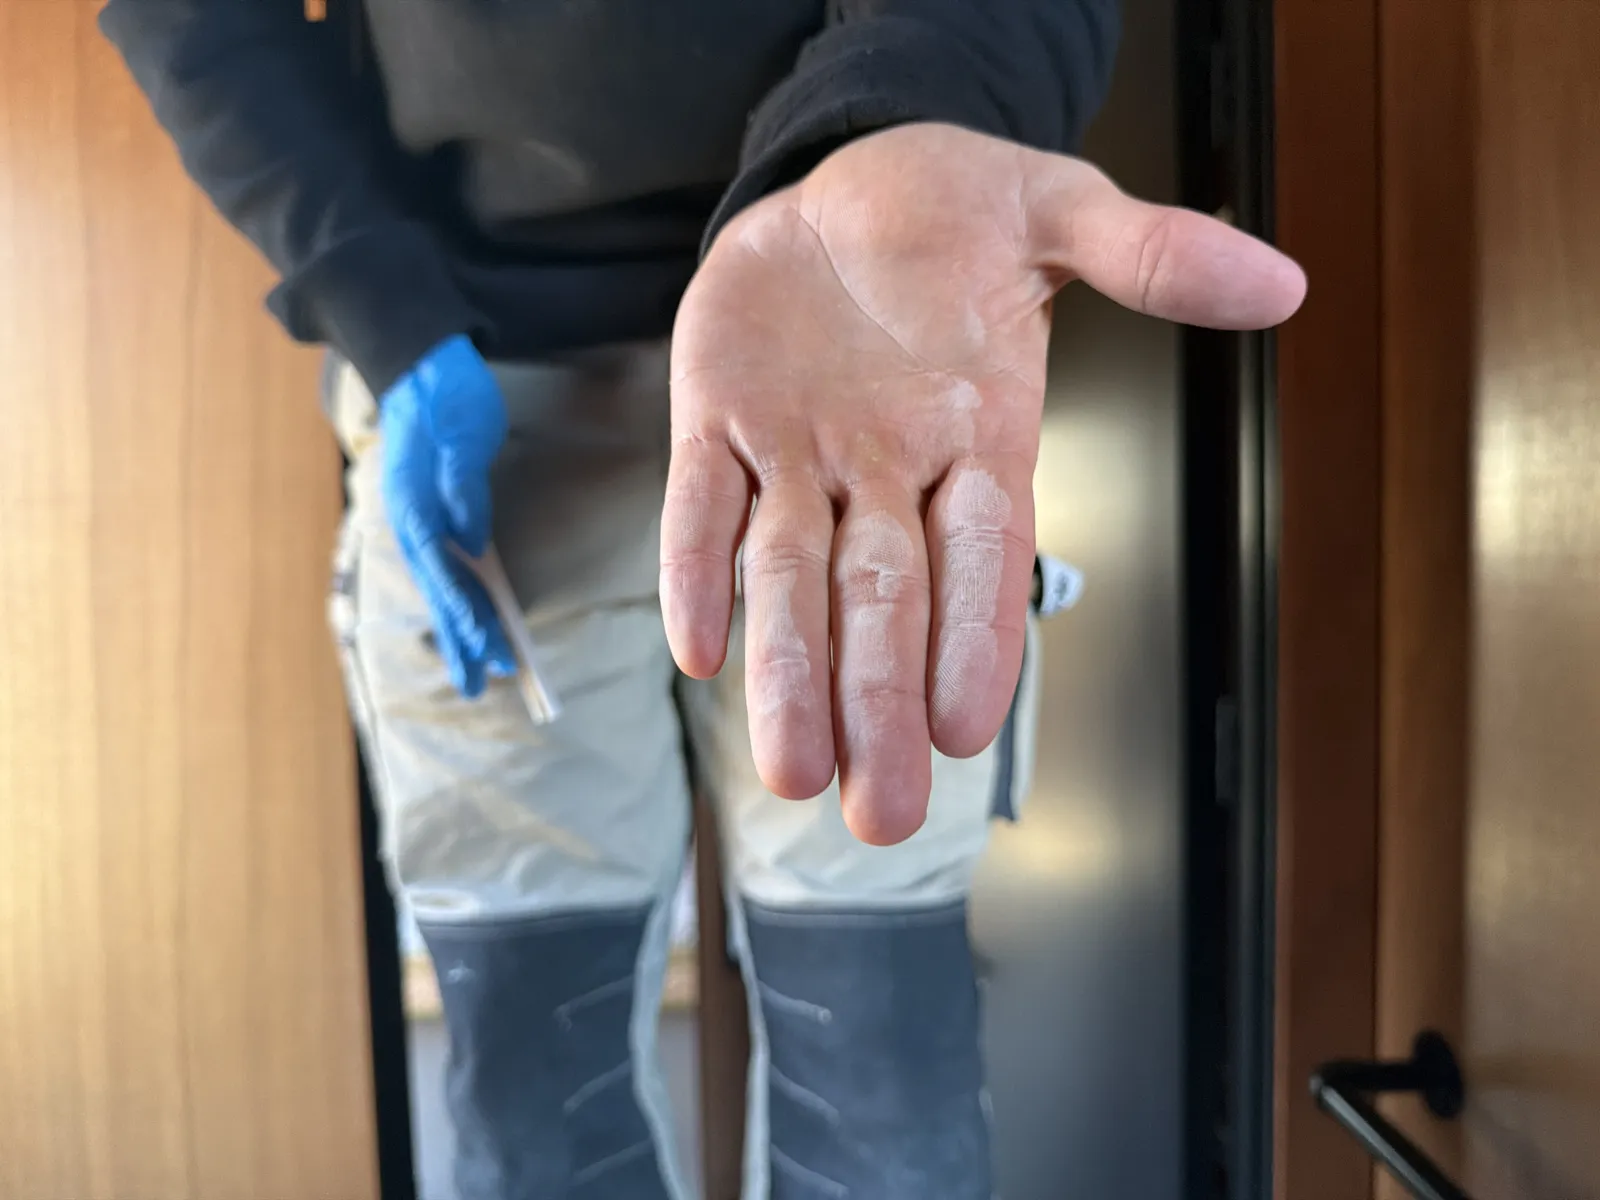
It powders up white. A fine white dust means the coating is fully cured and hard. Cured waterborne clears and old, well-aged finishes sand like this. It's the result you want, because a coating that powders is a coating that will take a sand and accept a new coat.
It gums up the paper. If the coating balls up, smears, or clogs the sandpaper in sticky little clumps, you're dealing with something soft. That's usually an oily or waxy finish, or a coating that never properly cured. Gumming means stop and think, because a new coat over the top of that will struggle to bond.
On this job the answer was clear as day. The old coating came off as a fine white powder. Wipe your hand over the test patch and it comes away dusted white.
Test two: the rag test
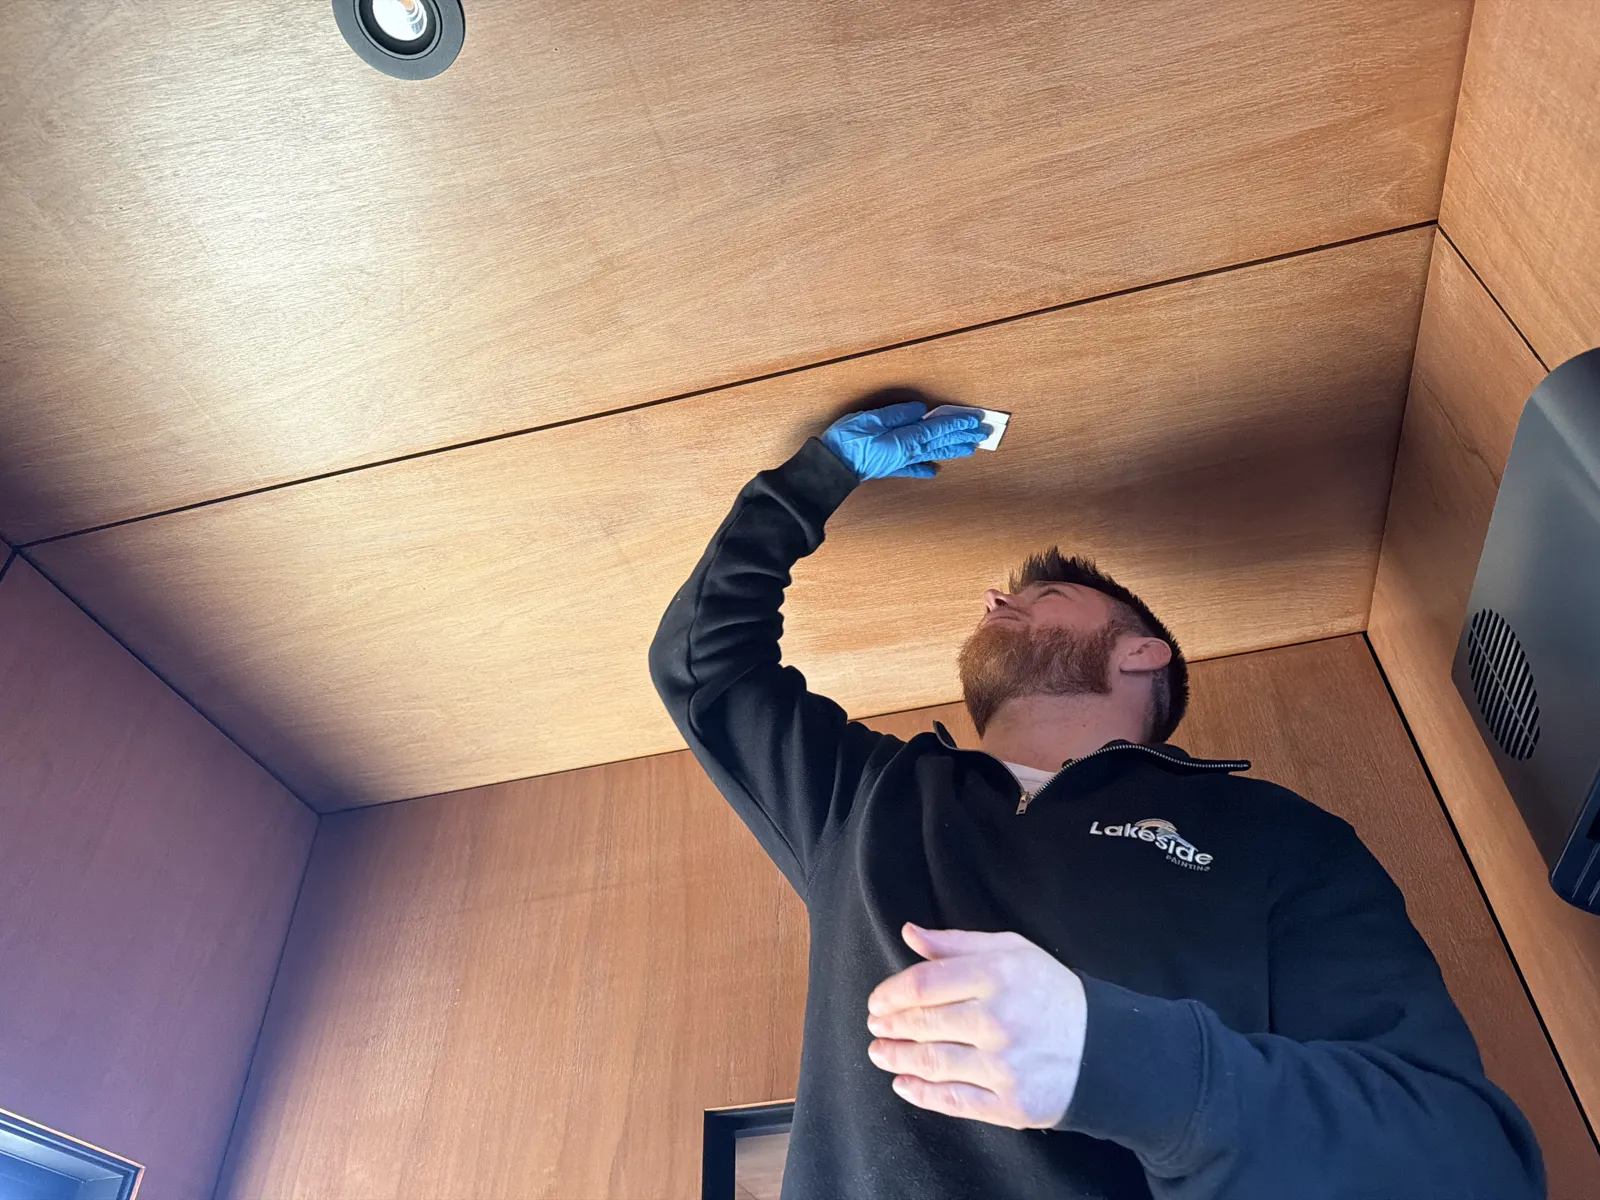
The sanding test tells you the coating is cured. It doesn't tell you what it is. For that, dampen a clean rag with solvent and rub a small area firmly for ten seconds or so.
We use turps for this. Turps is the natural solvent for oil-based finishes, so if the old coating is oil based and starting to break down, the rag will come away with a yellowy-brown tint, or the surface will go slightly soft and tacky where you rubbed. If the rag comes away clean and the coating doesn't care at all, oil is off the list.
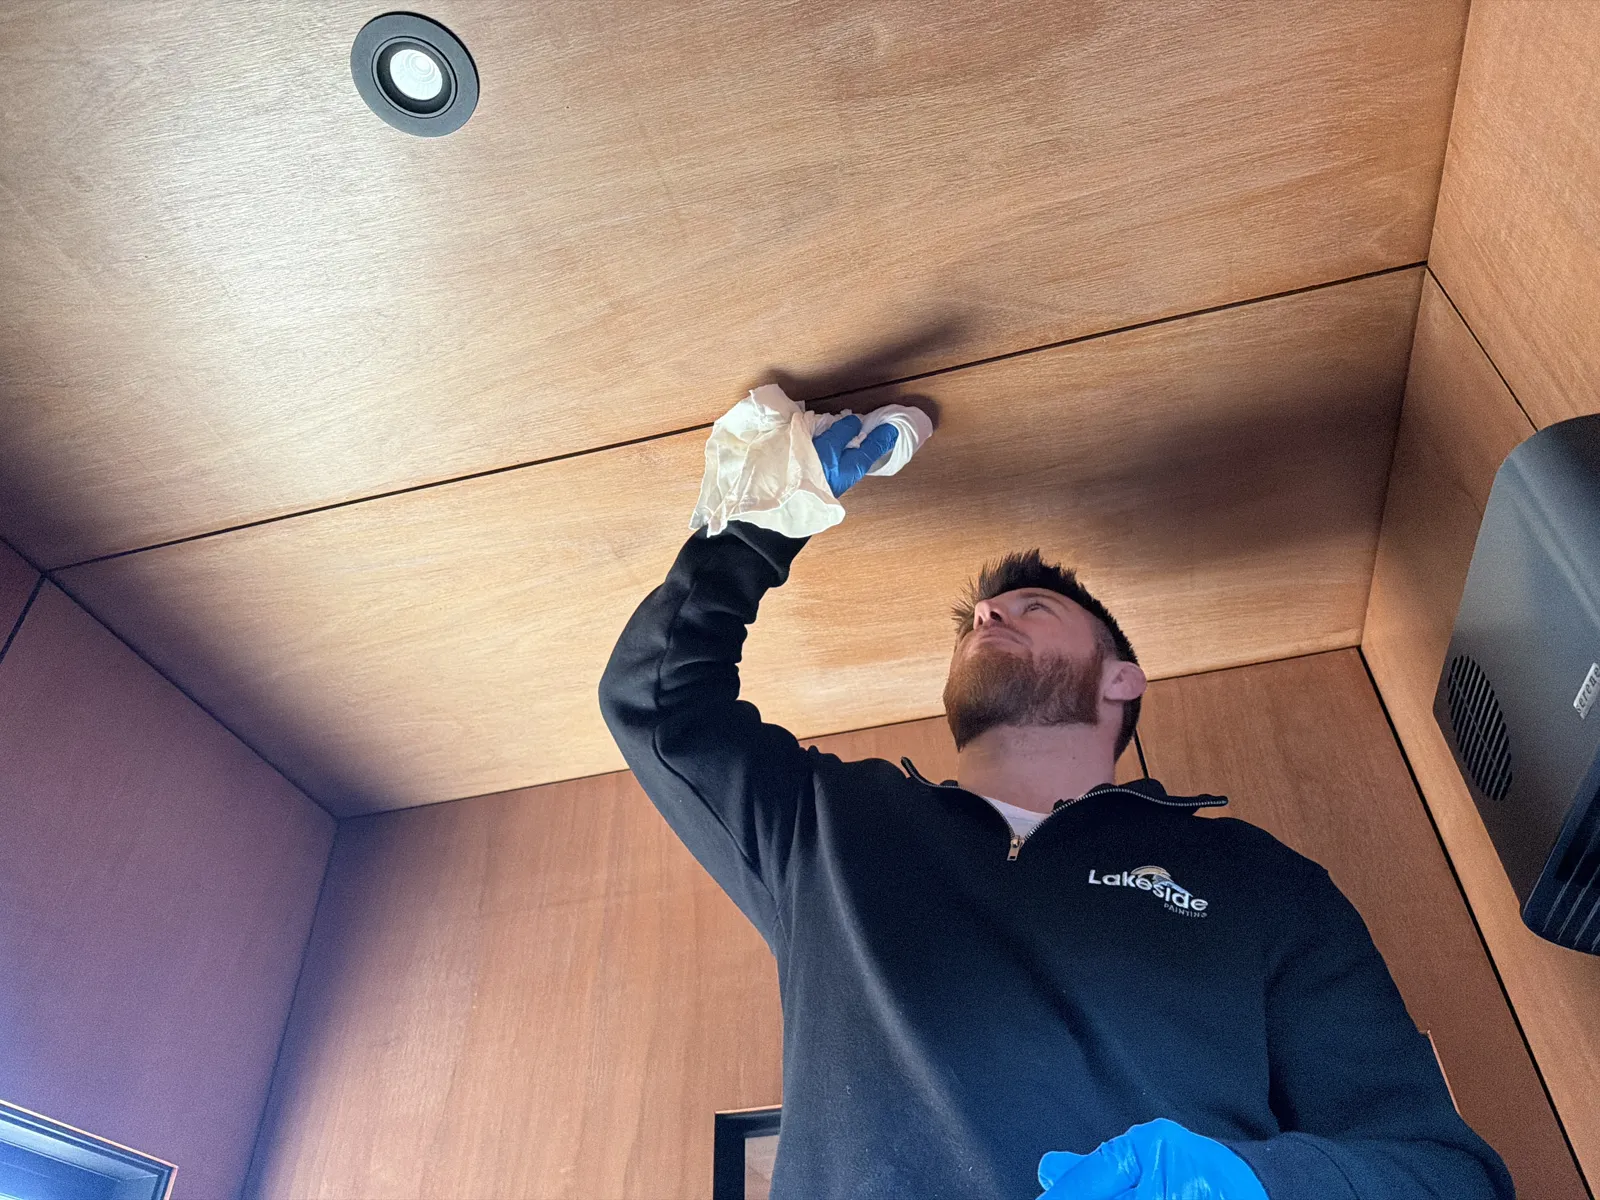
Here, nothing. The rag stayed clean and the coating didn't budge. Add that to the white powder from the sanding test and we had our answer: a cured waterborne clear coat. That meant we could recoat with a water-based product straight over a light sand, no stripping, no shellac barrier coat, no drama.
A quick tip if your results go the other way: meths (methylated spirits) is the companion test. Meths will soften shellac and can drag colour off some waterborne acrylics, while turps targets the oils. Between the two rags you can corner just about any mystery finish.
The recoat
With the tests done, the actual job was refreshingly simple. Each bathroom ceiling got a thorough clean, then a light overall sand with fine paper to give the new product something to key into, then a careful dust-off and wipe down. Skipping the dust-off is the classic way to end up with a gritty finish above your head, so we don't.
Then three coats of Resene Aquaclear in satin. Aquaclear is a waterborne urethane, so it went on happily over the old cured waterborne coating, and satin was the right sheen call here: enough of a surface for steam to bead off without turning the ceiling into a mirror. Three coats is one more than the standard spec, but bathroom ceilings in this part of the world cop a lot of moisture, and the extra film build is cheap insurance while you're already up the ladder.
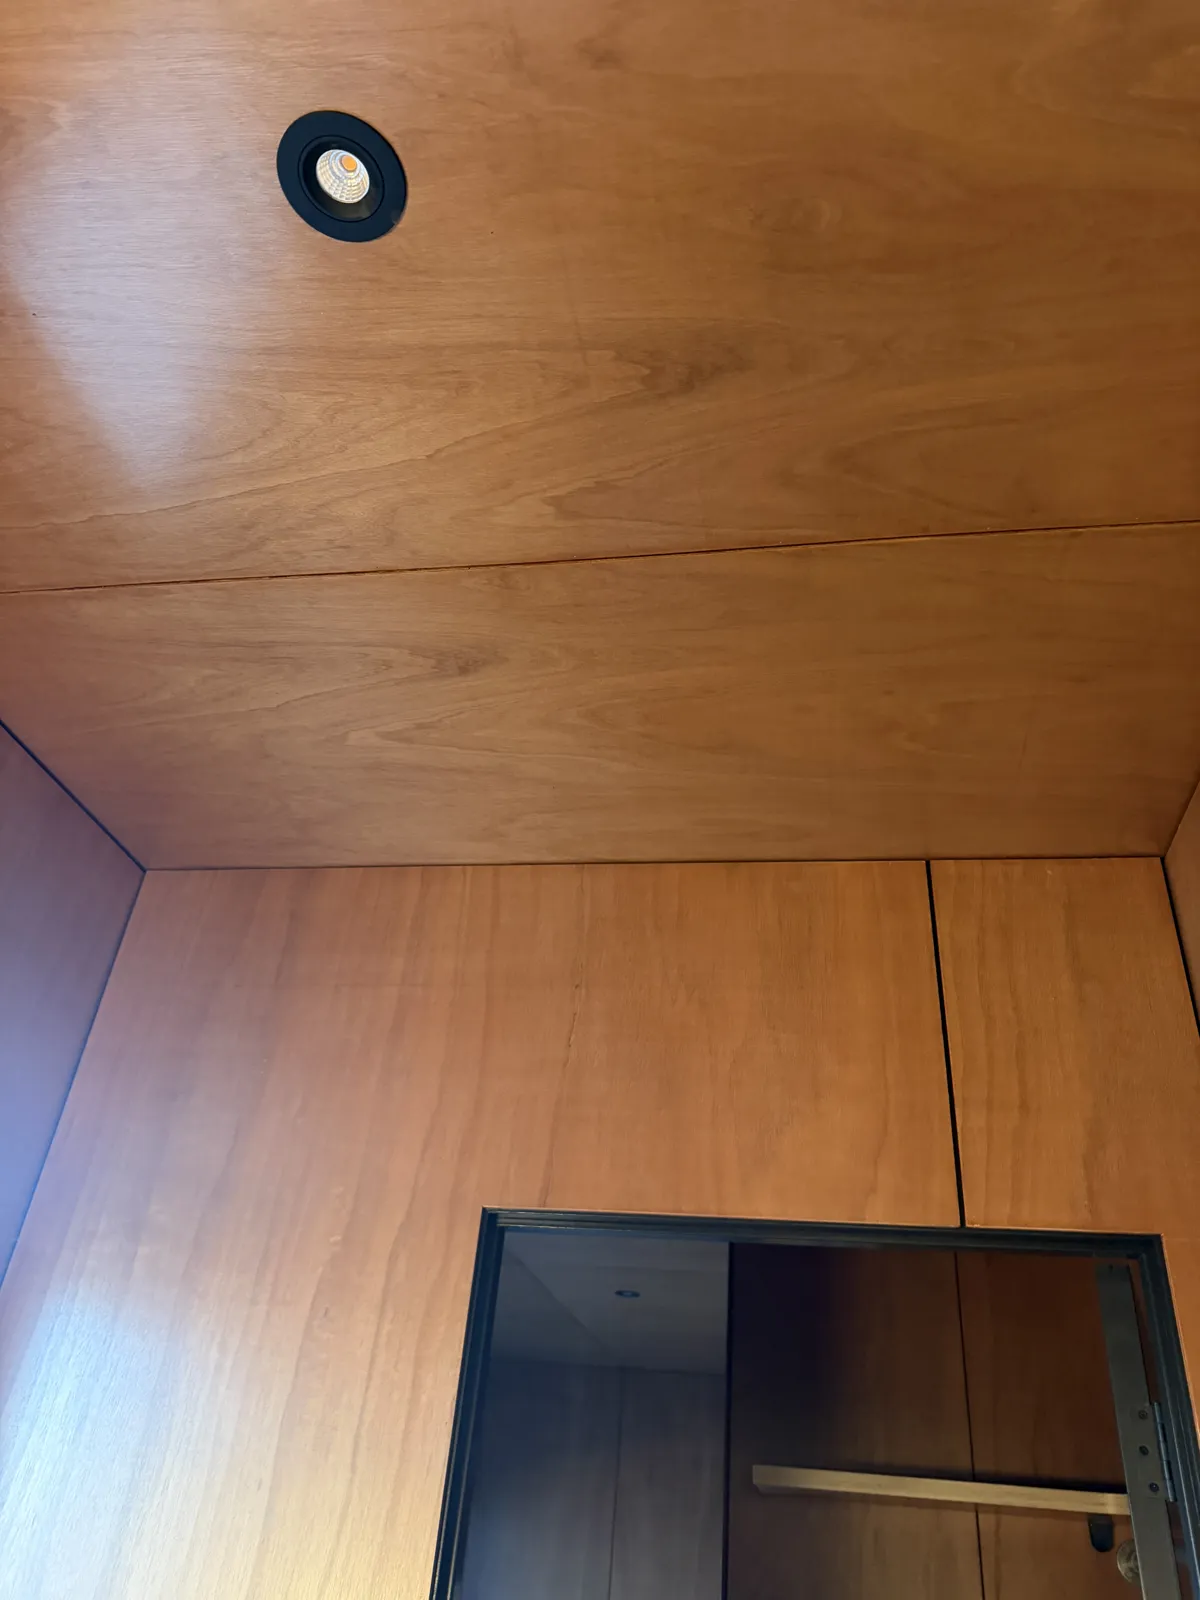
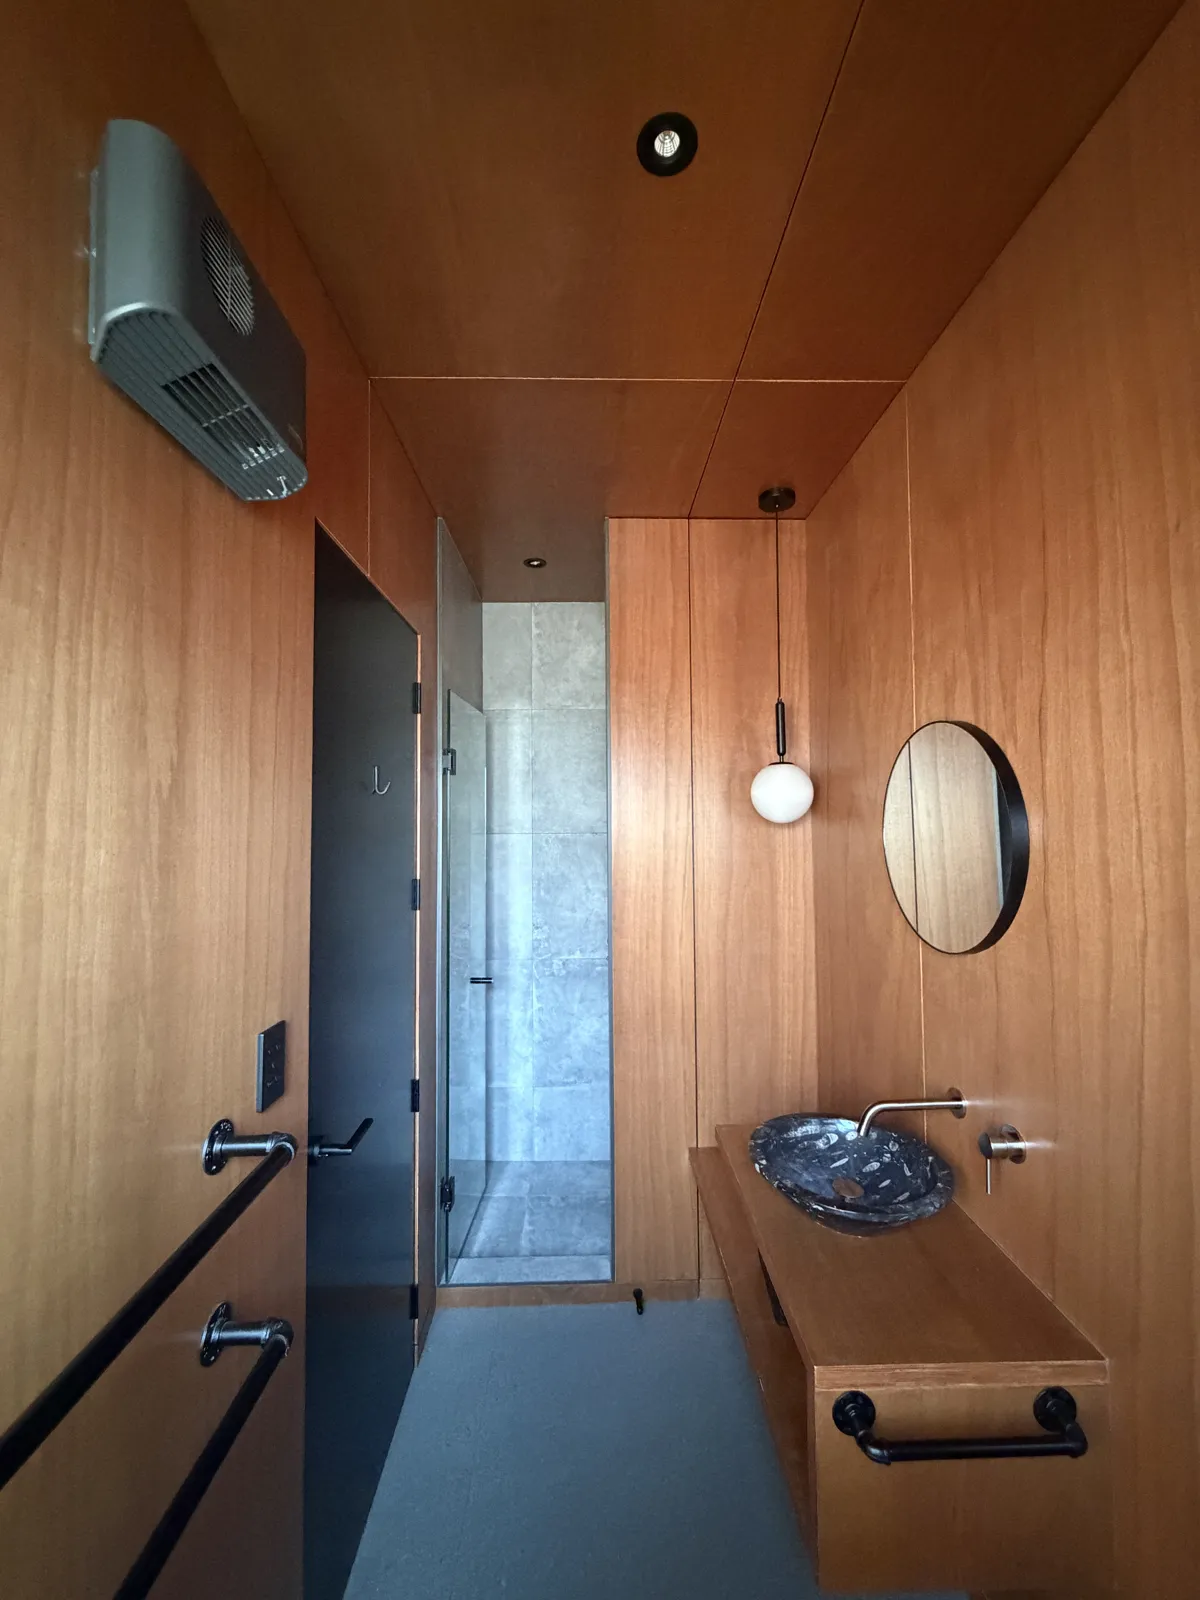
The difference is exactly what you want from a clear coat job: nothing flashy, just the timber looking like itself again, protected, even, with a soft satin sheen instead of dry chalky patches.
The takeaway
If you've got timber ceilings or panelling with a tired clear coat and no idea what's on it, don't guess and don't just grab whatever the shop recommends. Ten minutes with a bit of sandpaper and a turps rag will tell you what you're dealing with. White powder and a clean rag means you're probably looking at a straightforward sand and recoat. Gummy paper or a stained rag means the prep gets more involved, and it's worth getting someone in who's seen it before.
And if the ceiling in question is in a bathroom, don't wait until the timber starts marking. A recoat while the old finish is worn but intact is a small job. Fixing water-damaged timber is not.
If you're in Wānaka or around Central Otago and want a hand working out what's on your timber, give us a shout. Happy to take a look.
About the Author
Bradley Hamilton
Bradley Hamilton runs Lakeside Painting in Wānaka. He writes about the practical side of painting and coating timber in Central Otago, including the jobs where nobody knows what the last person used.
Visit Lakeside Painting
Comments
Join the conversation by signing in
No comments yet.
Be the first to share your thoughts!