
Bradley Hamilton
Lakeside Painting
The Step Everyone Skips (And Why Your Walls Look "Fine" Instead of "Flawless")
Here's a scenario I see all the time: Someone does everything right. They prep the walls, use quality paint, apply nice even coats. The result looks... okay. Good, even. But not great.
Then they walk into a professionally painted home and notice the difference immediately. Those walls look smooth. Like silk. Like you could run your hand across them and feel nothing but perfection.
What's the difference? One step that takes about 10 minutes per coat: sanding between coats.
Why Sanding Between Coats Actually Matters
Every time you apply paint, tiny imperfections happen. Dust particles land on the wet surface. The roller leaves the faintest texture. Maybe there's a tiny drip you didn't notice, or a bit of lint from your roller sleeve.
On one coat? Barely visible.
Two coats without sanding? Those imperfections compound. The second coat magnifies everything underneath it.
Three coats without sanding? Now you've got a wall that feels like fine-grit sandpaper and catches the light in all the wrong ways.
Sanding between coats does three things:
-
Knocks off the nibs - Those tiny bumps from dust, lint, and dried paint spatters? Gone.
-
Creates mechanical grip - Paint adheres better to a slightly scuffed surface than to a smooth, sealed one. This is called "tooth."
-
Levels the surface - Minor roller texture and brush marks get smoothed out, giving your next coat a flatter canvas to work with.
The result? A finish that looks and feels professional. Walls that reflect light evenly. Paint that actually looks like paint, not like a textured ceiling tile.
The Right Way to Sand (It's Easier Than You Think)
You don't need much. This isn't aggressive sanding - you're not trying to remove the paint. You're just kissing the surface.
What You'll Need
For walls and large flat areas:
-
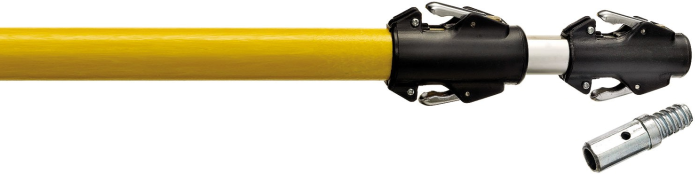
A small extension pole (around 1.2m is perfect — it gives you reach without being unwieldy). You can grab one for about $50 from Resene: Extension Pole 0.7m - 1.4m
-
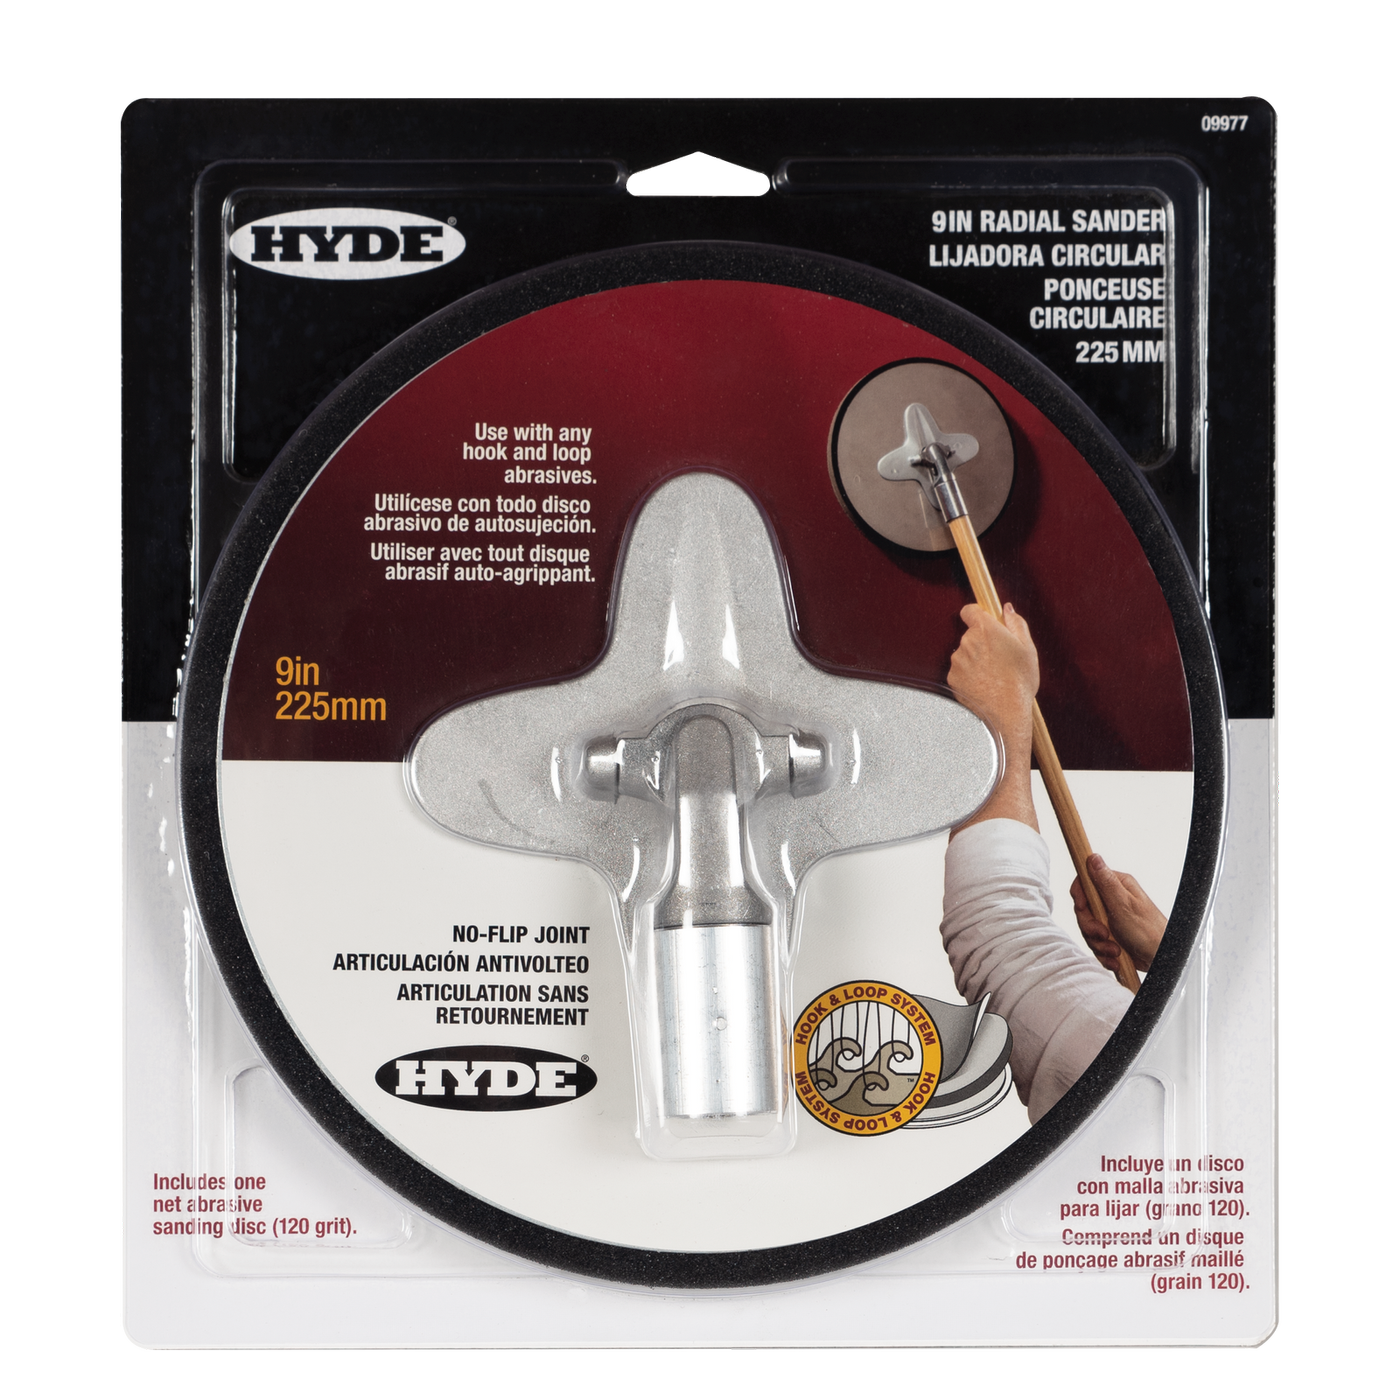
A round sanding head that attaches to the pole. You can grab one for about $50 from Bunnings: Radial Sander
-
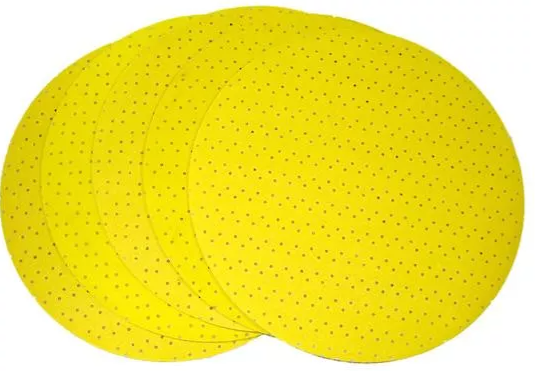
220-grit sanding discs or screens (usually around $7–$8 at most trade suppliers).
For edges, corners, and around trim:
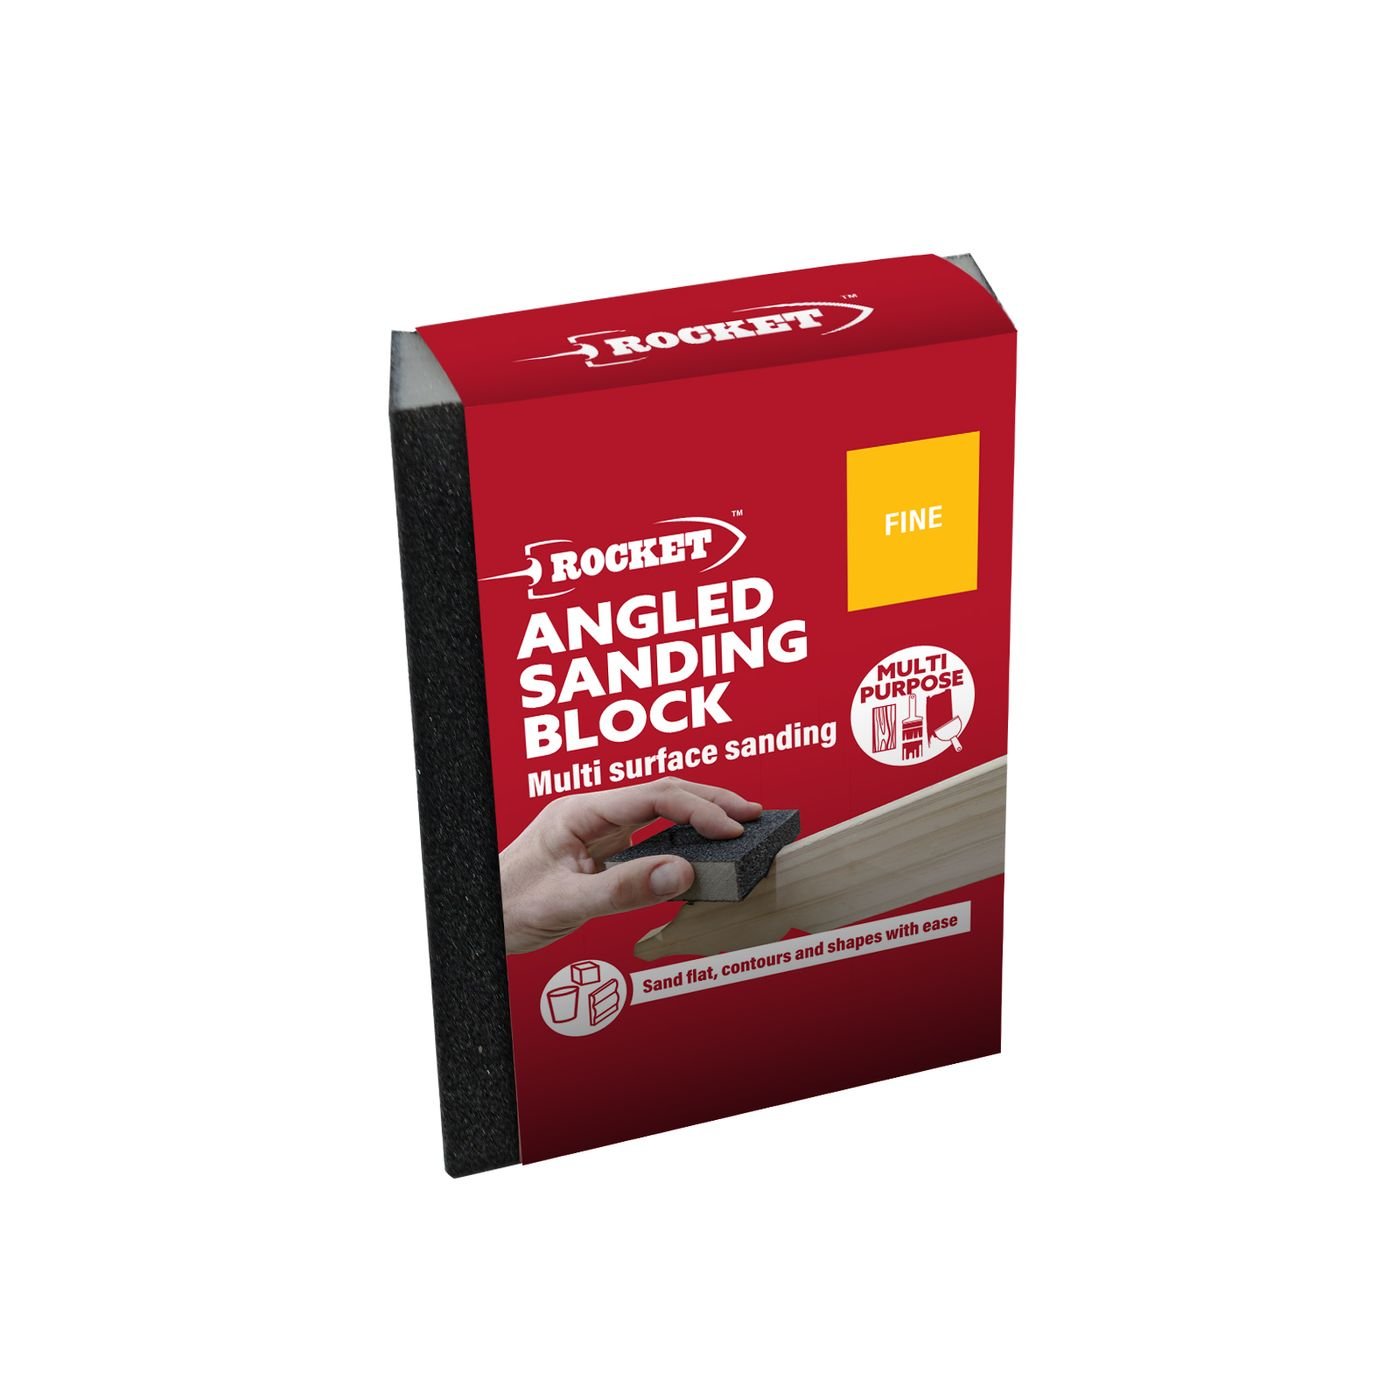
- An angled sanding sponge (180–220 grit) to get right into edges and corners. You can usually find them for under $5 at most suppliers.
For cleanup:
- A slightly damp microfibre cloth
- Maybe a vacuum with a brush attachment if you're being thorough
The Technique
Step 1: Wait until the paint is fully dry. Not just "dry to touch" - properly cured. Usually 2-4 hours for water-based paint, though I prefer to leave it overnight if I can.
Step 2: Attach your sanding disc to the round head, then to your extension pole. This lets you reach the full wall without a ladder and keeps consistent pressure across the surface.
Step 3: Work in vertical strokes, just like you would when rolling paint. Start at one side and work your way across, overlapping each pass slightly. Light pressure. You're not trying to sand through the paint - you're just scuffing the surface. If you're creating dust clouds, you're pushing too hard.
Step 4: Switch to your sanding block for edges, corners, and along the ceiling line. The extension pole can't get into tight spots, and you need control here anyway.
Step 5: Wipe down the wall with a slightly damp microfibre cloth to remove all the dust. Any dust left behind gets locked under your next coat - defeating the whole point.
Step 6: Let the wall dry completely (won't take long), then apply your next coat.
The Tools That Make It Easy
Look, you can do this with a sanding block and elbow grease. But if you're painting more than a single wall, the right tools save your shoulders and give better results.
The extension pole setup I use:
- A lightweight aluminium extension pole (adjustable 1-2m)
- A round sanding head with hook-and-loop backing (sometimes called a "pole sander" or "drywall sanding head")
- 220-grit sanding discs or screens
You can pick this up at Bunnings or Mitre 10 for about $40-60 total. The sanding discs are cheap and last longer than you'd think when you're not pressing hard.
Why round instead of rectangular?
The round head pivots slightly, which keeps even pressure across the surface. Rectangular heads can dig in at the edges if your angle isn't perfect. Round heads are more forgiving.
Why 220-grit?
220 is fine enough that it won't leave scratches visible through the paint, but coarse enough to actually do something. 180 works too if that's what you've got. Don't go coarser than 180 or you risk scratching through to the primer.
When to Skip It (Yes, There Are Times)
Single coat touch-ups: If you're just touching up a small area with one coat, sanding between coats doesn't apply. Sand the existing paint lightly before your touch-up instead.
Textured finishes: If you're going for an intentionally textured look, sanding defeats the purpose.
Flat ceiling paint: Ceilings are forgiving because of the angle. Unless you're seeing obvious nibs, you can often skip the sand on ceilings. (I still do it on my own jobs, but I won't judge if you don't.)
The Bottom Line
Sanding between coats takes 10-15 minutes per coat on an average room. That's maybe an hour of extra work across a full interior paint job.
The difference in the final result? Significant enough that people will notice. Maybe not consciously - they won't say "wow, you must have sanded between coats." But they'll say "this looks really professional" or "these walls are so smooth."
That's the goal, right? Not just painted walls. Properly painted walls.
Give it a try on your next project. Once you see the difference, you won't skip it again.
Want more painting technique tips? Check out the Complete Kiwi Guide to Interior Painting for the full breakdown of professional methods.
Need a professional finish without the DIY? If you're in Queenstown, Little Dog Decorating delivers the kind of silky-smooth results that come from doing every step right. In Wanaka, Painters Wanaka has 14+ years of experience achieving flawless finishes in Central Otago homes.

About the Author
Bradley Hamilton
Bradley Hamilton is a seasoned painter with over 14 years of experience in the industry. Having worked with a wide range of clients, from homeowners to commercial businesses, he has developed a deep understanding of what it takes to deliver exceptional painting results. His expertise spans both interior and exterior projects, with a focus on quality craftsmanship and attention to detail.
Comments
Join the conversation by signing in
No comments yet.
Be the first to share your thoughts!