
Bradley Hamilton
Lakeside Painting
How to Fix a Hole in Your Wall (Without It Looking Like You Fixed a Hole in Your Wall)
A mate in Luggate had a crack at patching a hole himself. Fair play to him — he got the mesh tape on, slapped on some compound, and called it done. Problem was, the compound was way too thick and the surface looked like a speed bump.
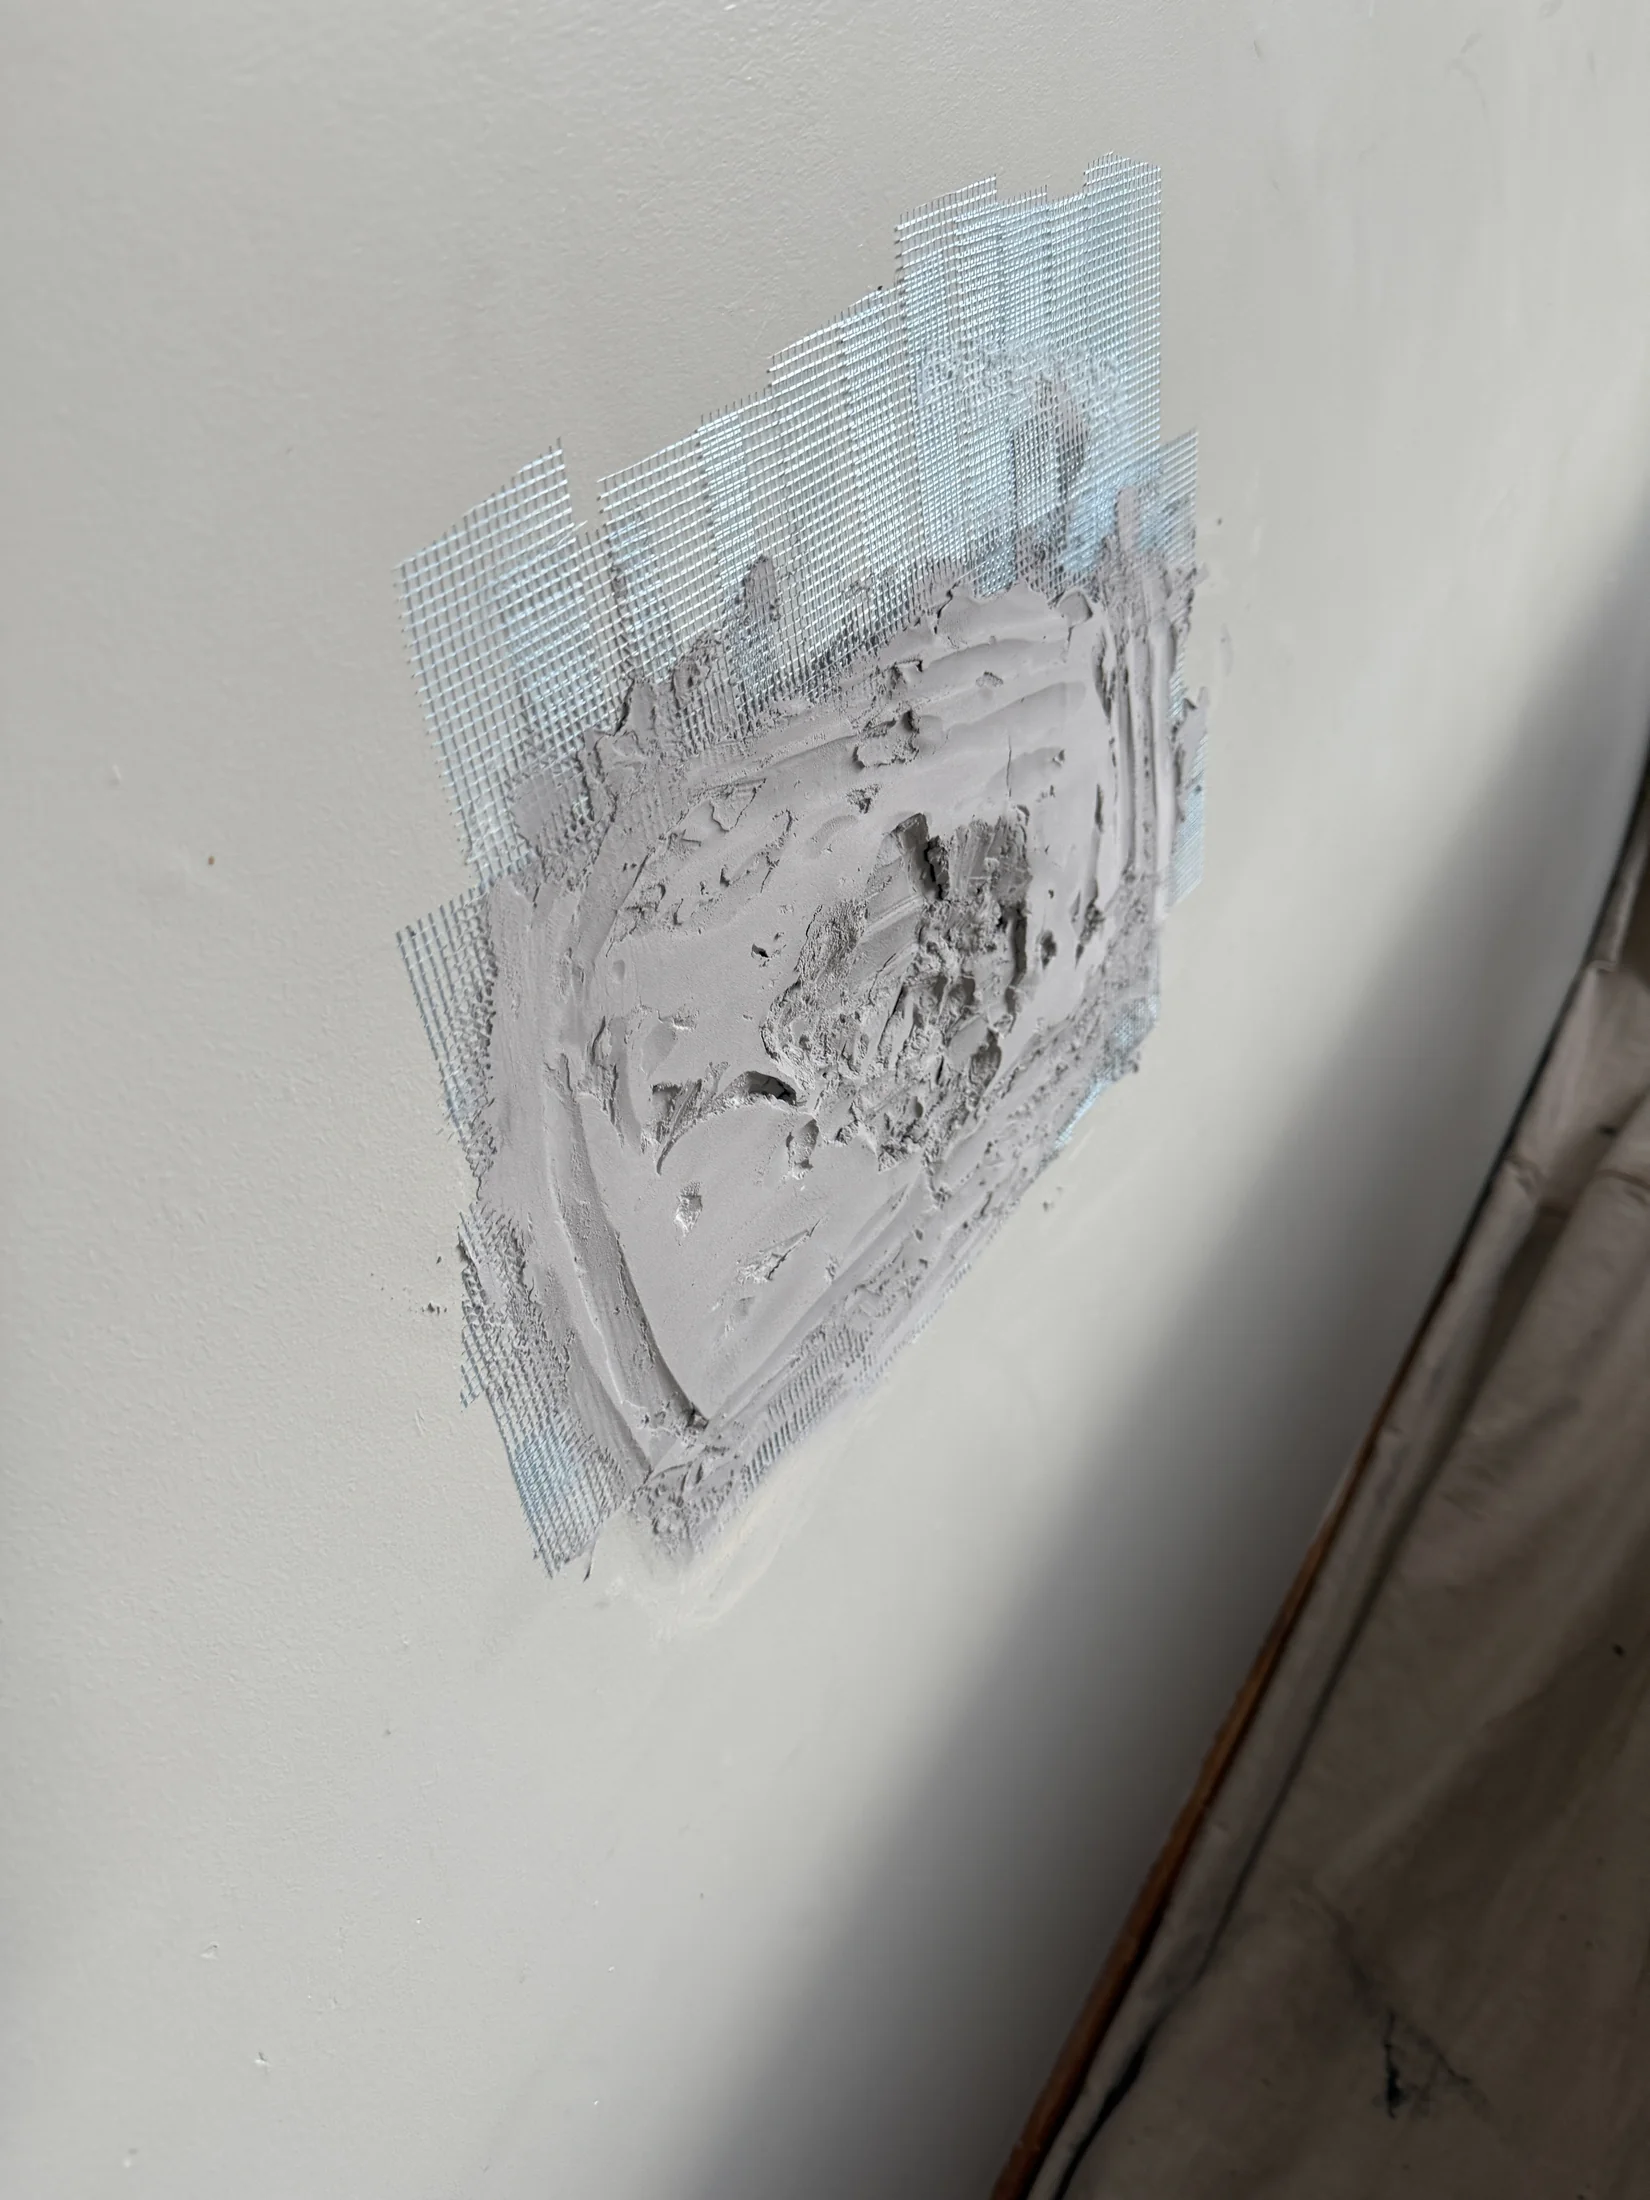
Sound familiar? Wall patches are one of those jobs that look dead simple but have a few tricks to getting right. Here's the proper way to do it.
1. Cut Back to a Clean Rectangle
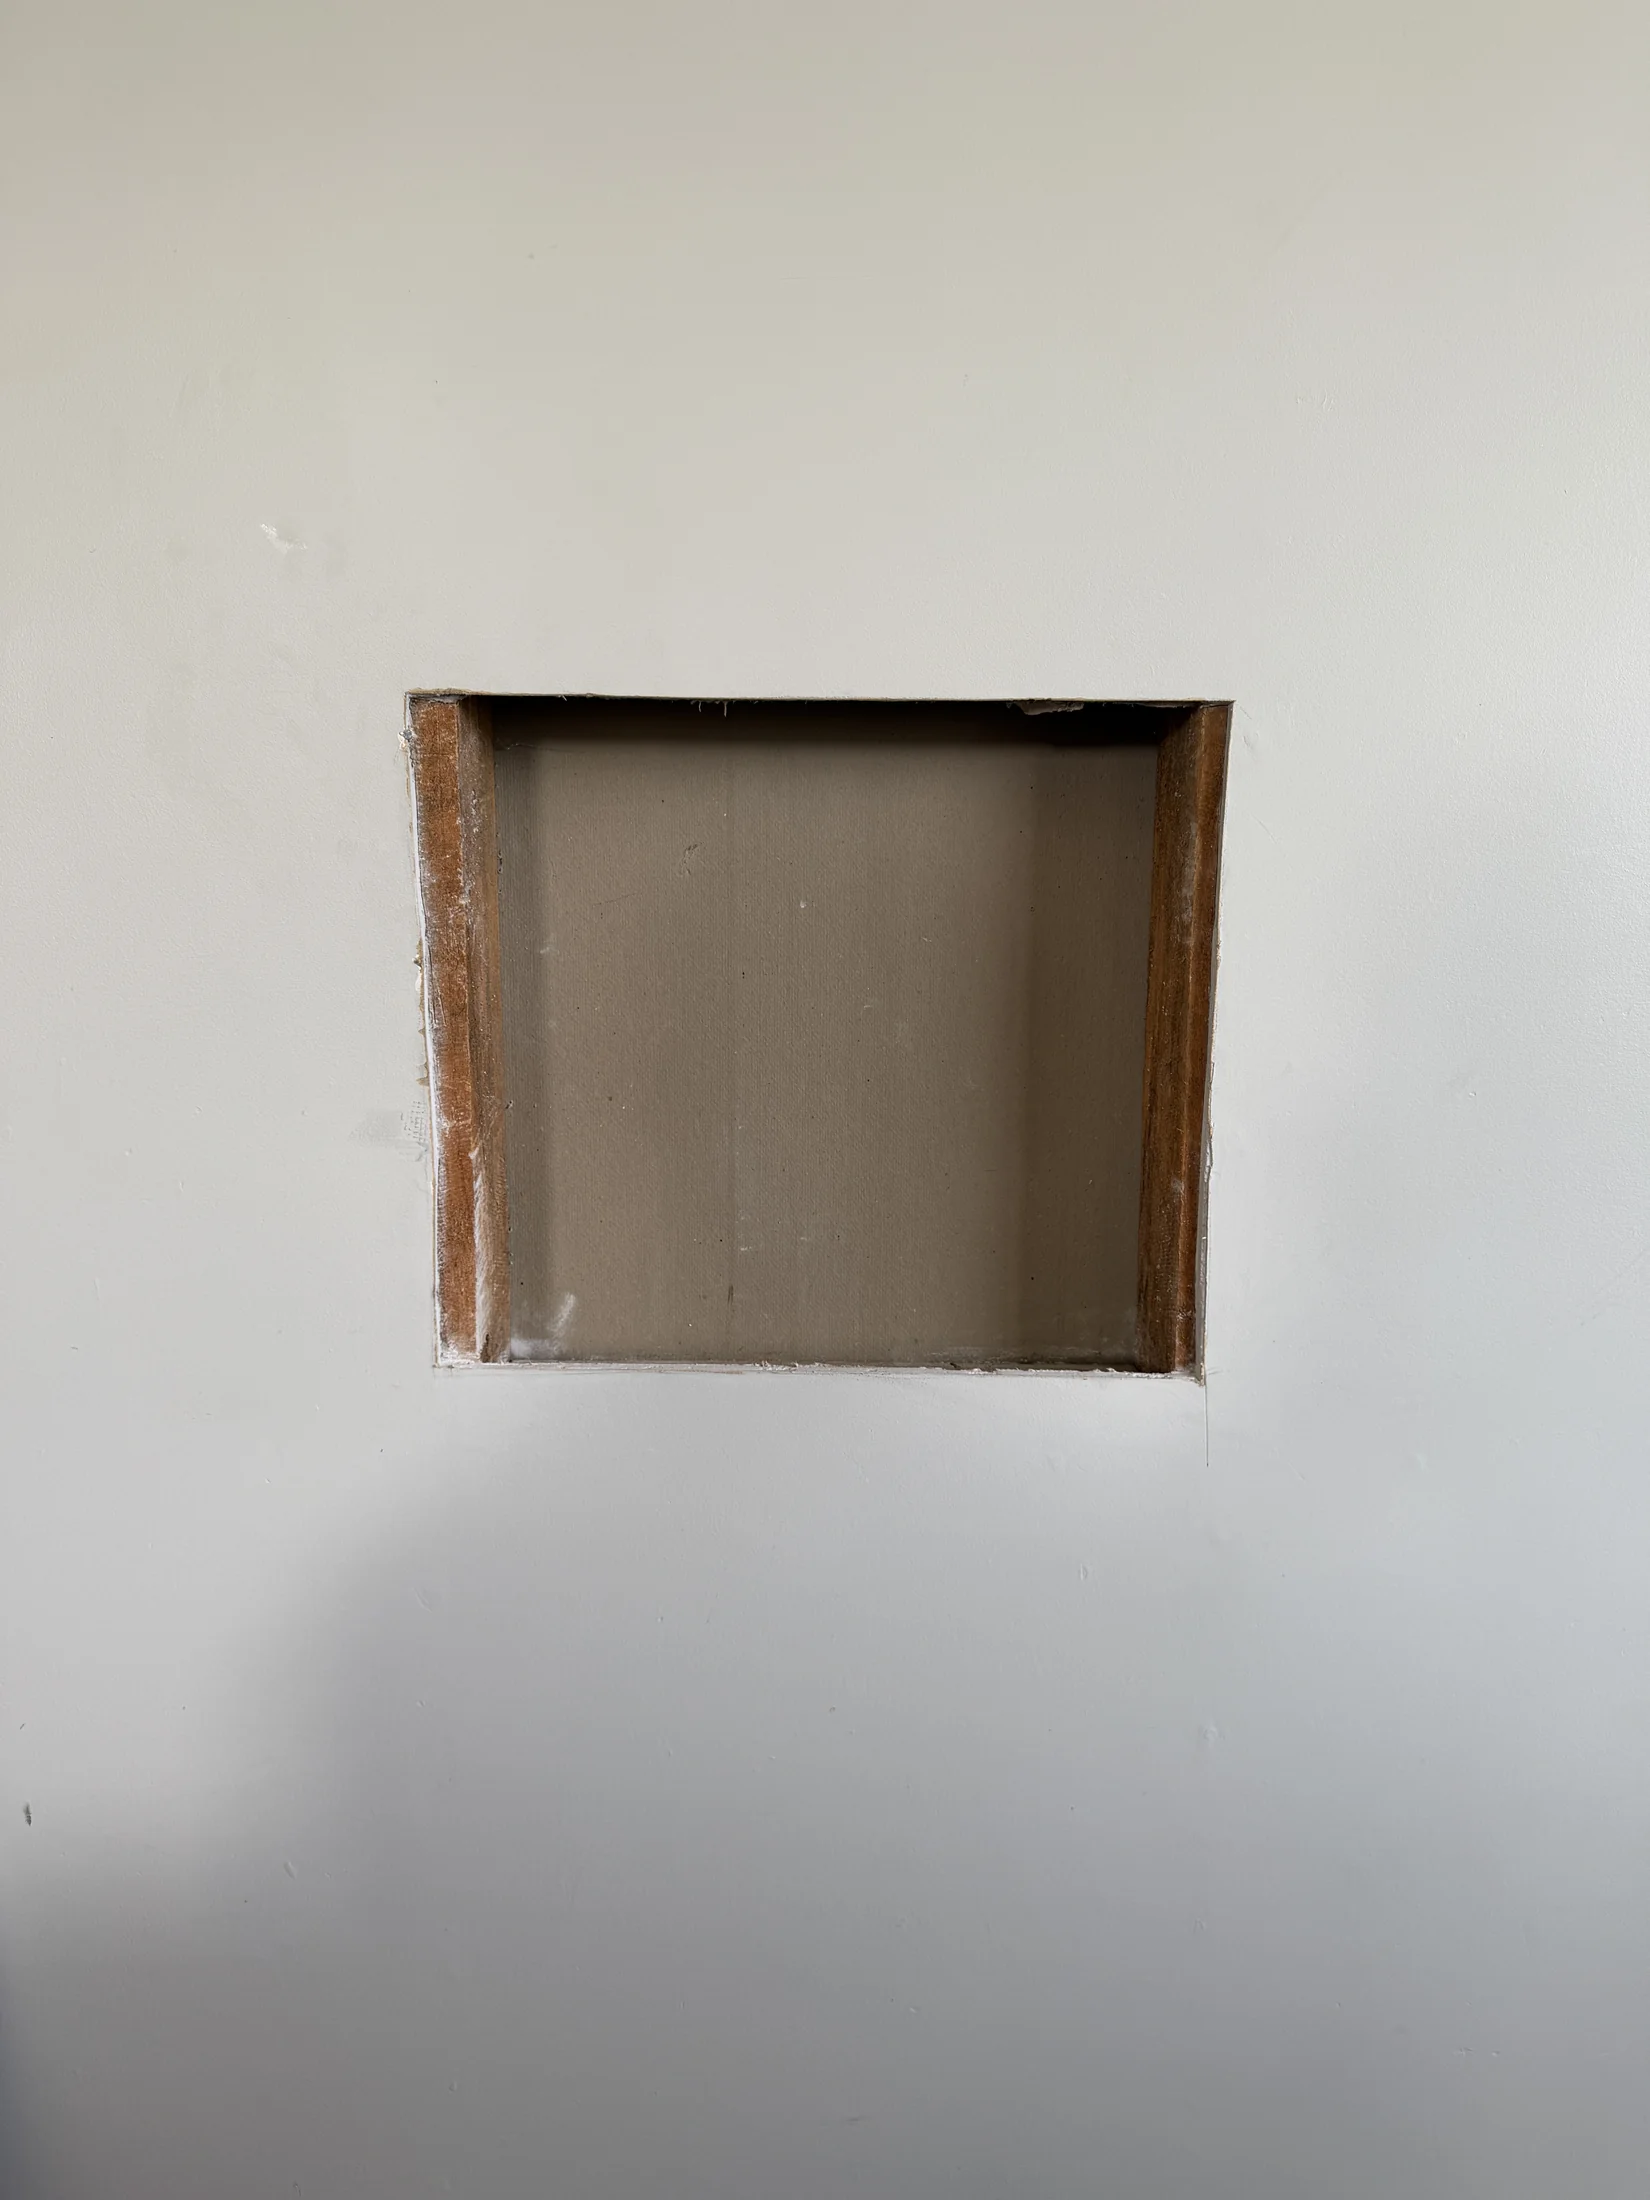
Don't try to work around the damage — cut it out completely. Use a utility knife or gib saw and go back to where the plasterboard is solid. No cracked edges, no loose paper.
If there's a stud behind the hole, great — you'll screw your patch straight to it. If not, slide a piece of timber behind the opening and screw through the existing gib on each side to create backing. Easy.
2. Fit the Patch
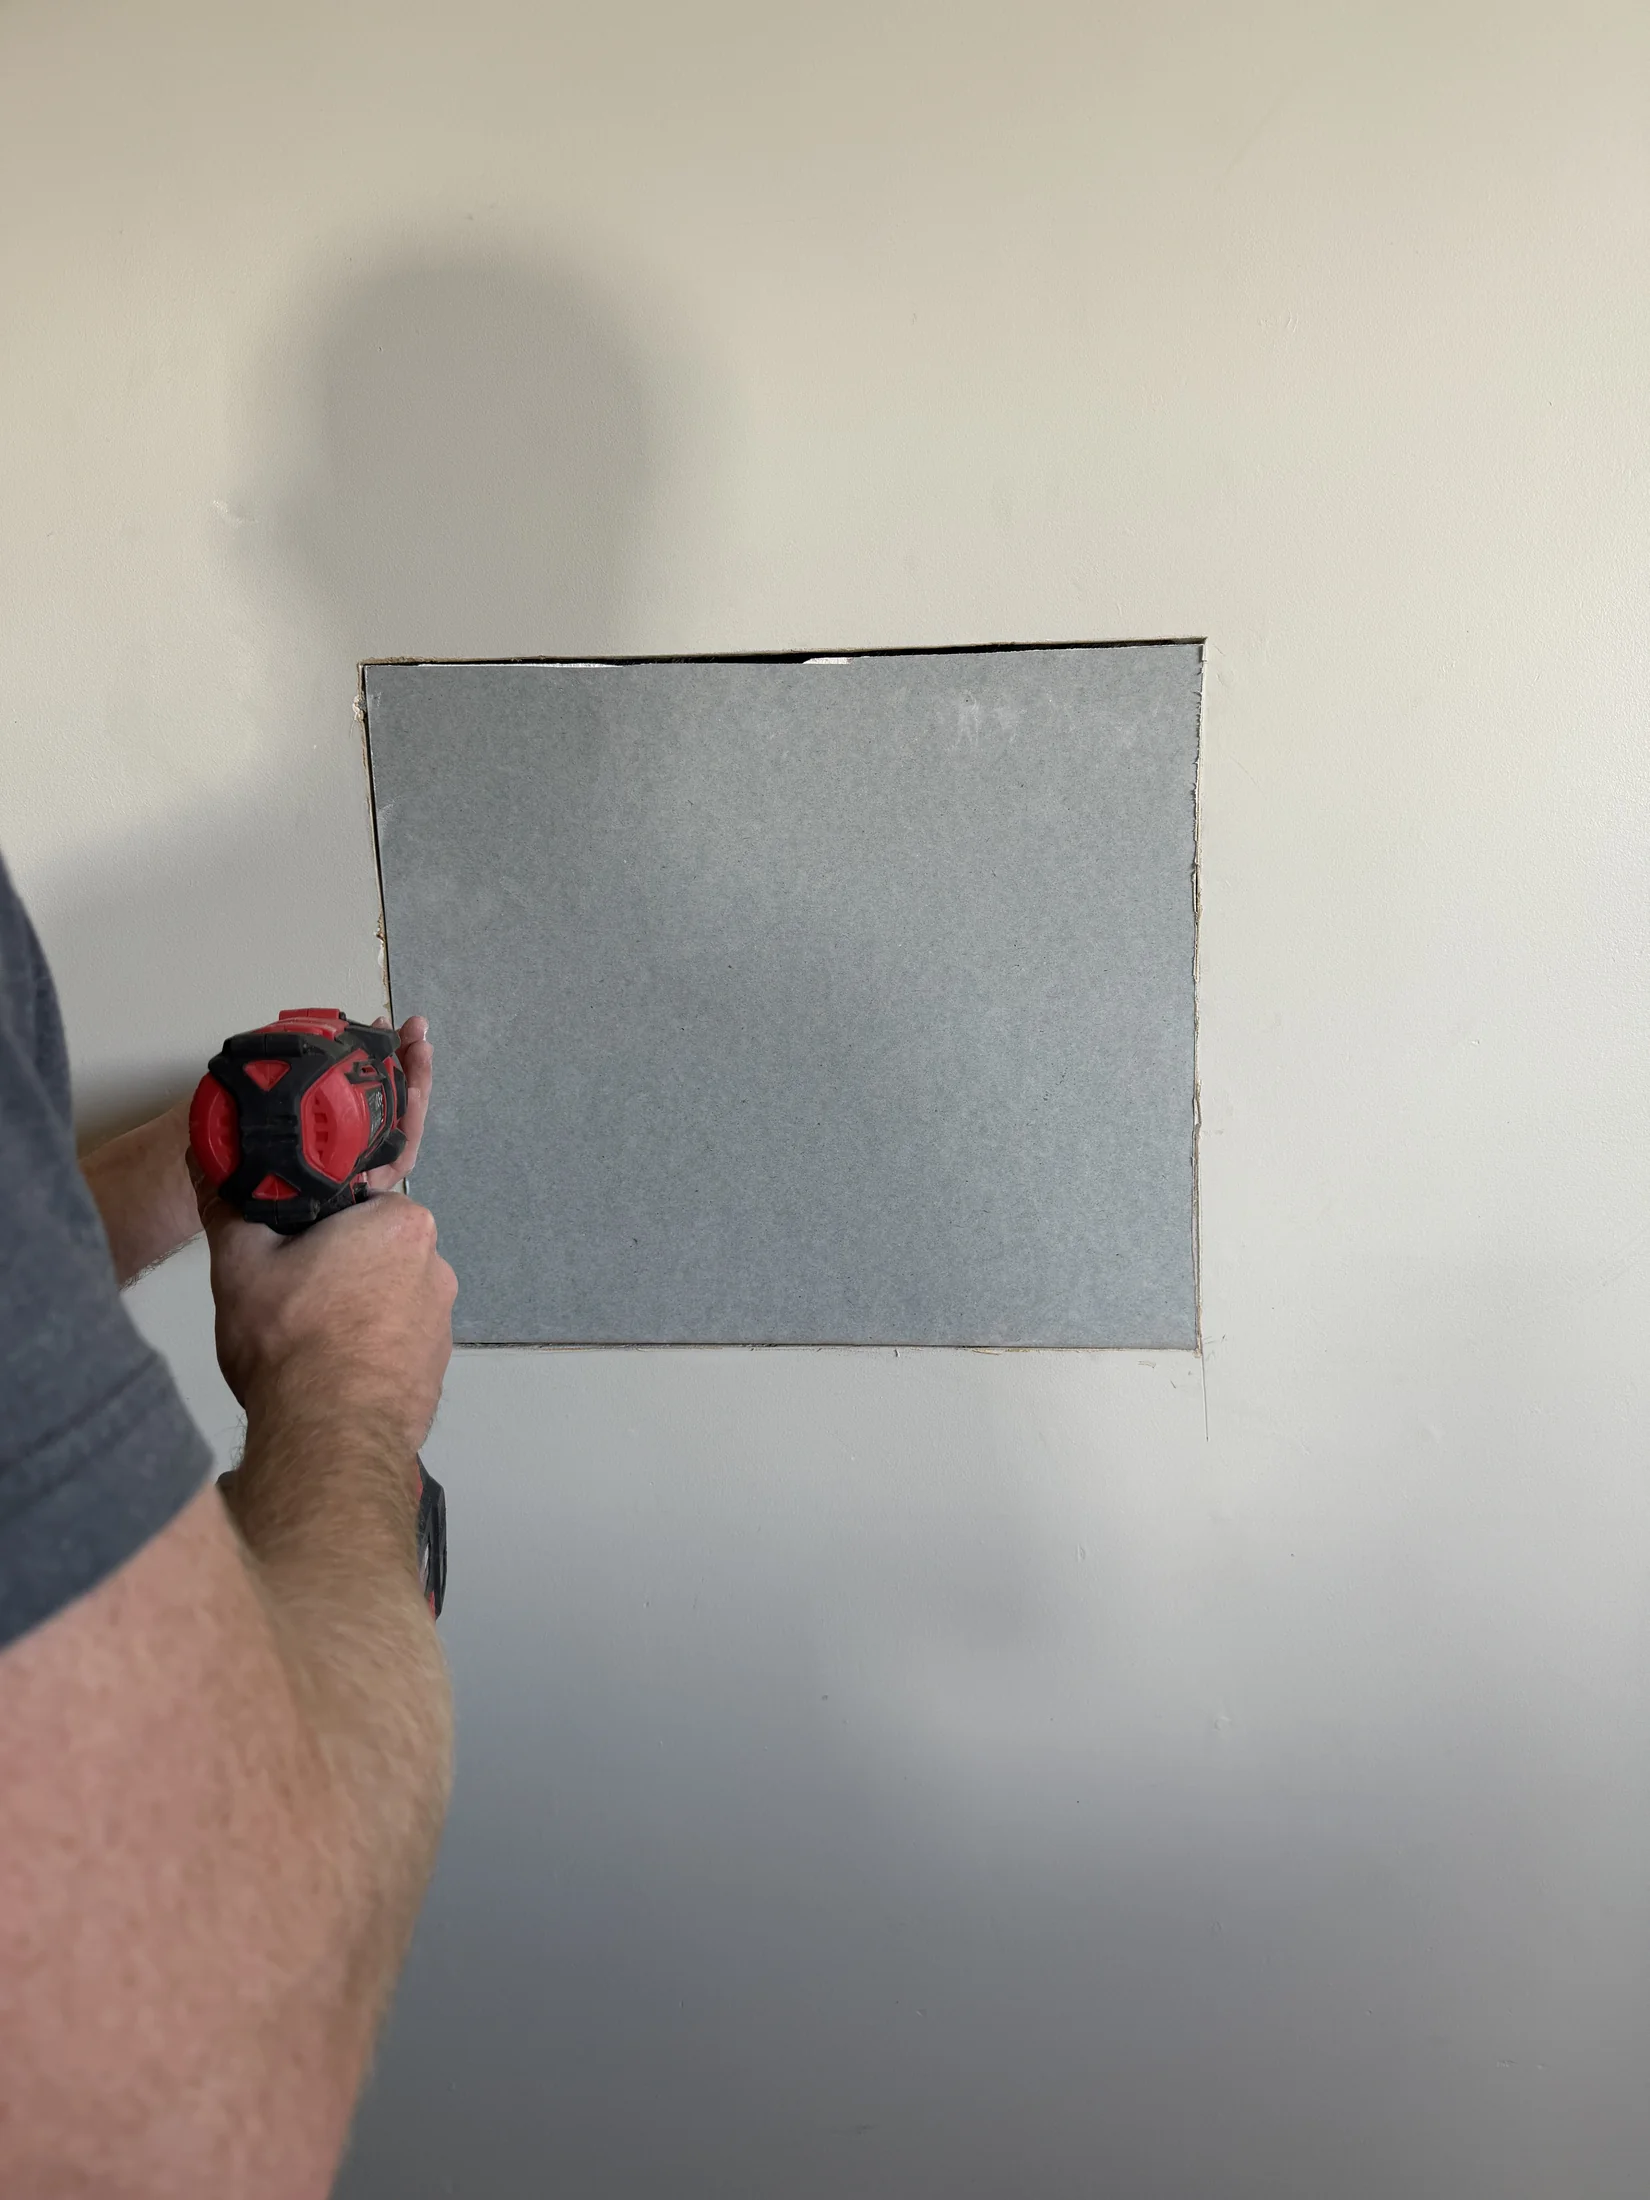
Cut your gib patch to fit with a 2–3mm gap around the edges. Snug but not forced. Screw it to the studs or backing timber with gib screws — heads just below the surface but not punching through the paper face.
Quick tip: Most interior walls in NZ use 10mm gib board. It's easy to grab 13mm by mistake (that's ceiling board). If your patch is thicker than the surrounding wall, you'll never get it flush. Check before you buy.
3. Tape, Compound, Repeat
This is where 90% of DIY patches go wrong. People slap on one thick coat and wonder why it looks rubbish.
Here's the process:
Apply self-adhesive fibreglass mesh tape over every join. Then a thin first coat of compound with a broad knife. You're just bedding the tape — not finishing the job in one pass.
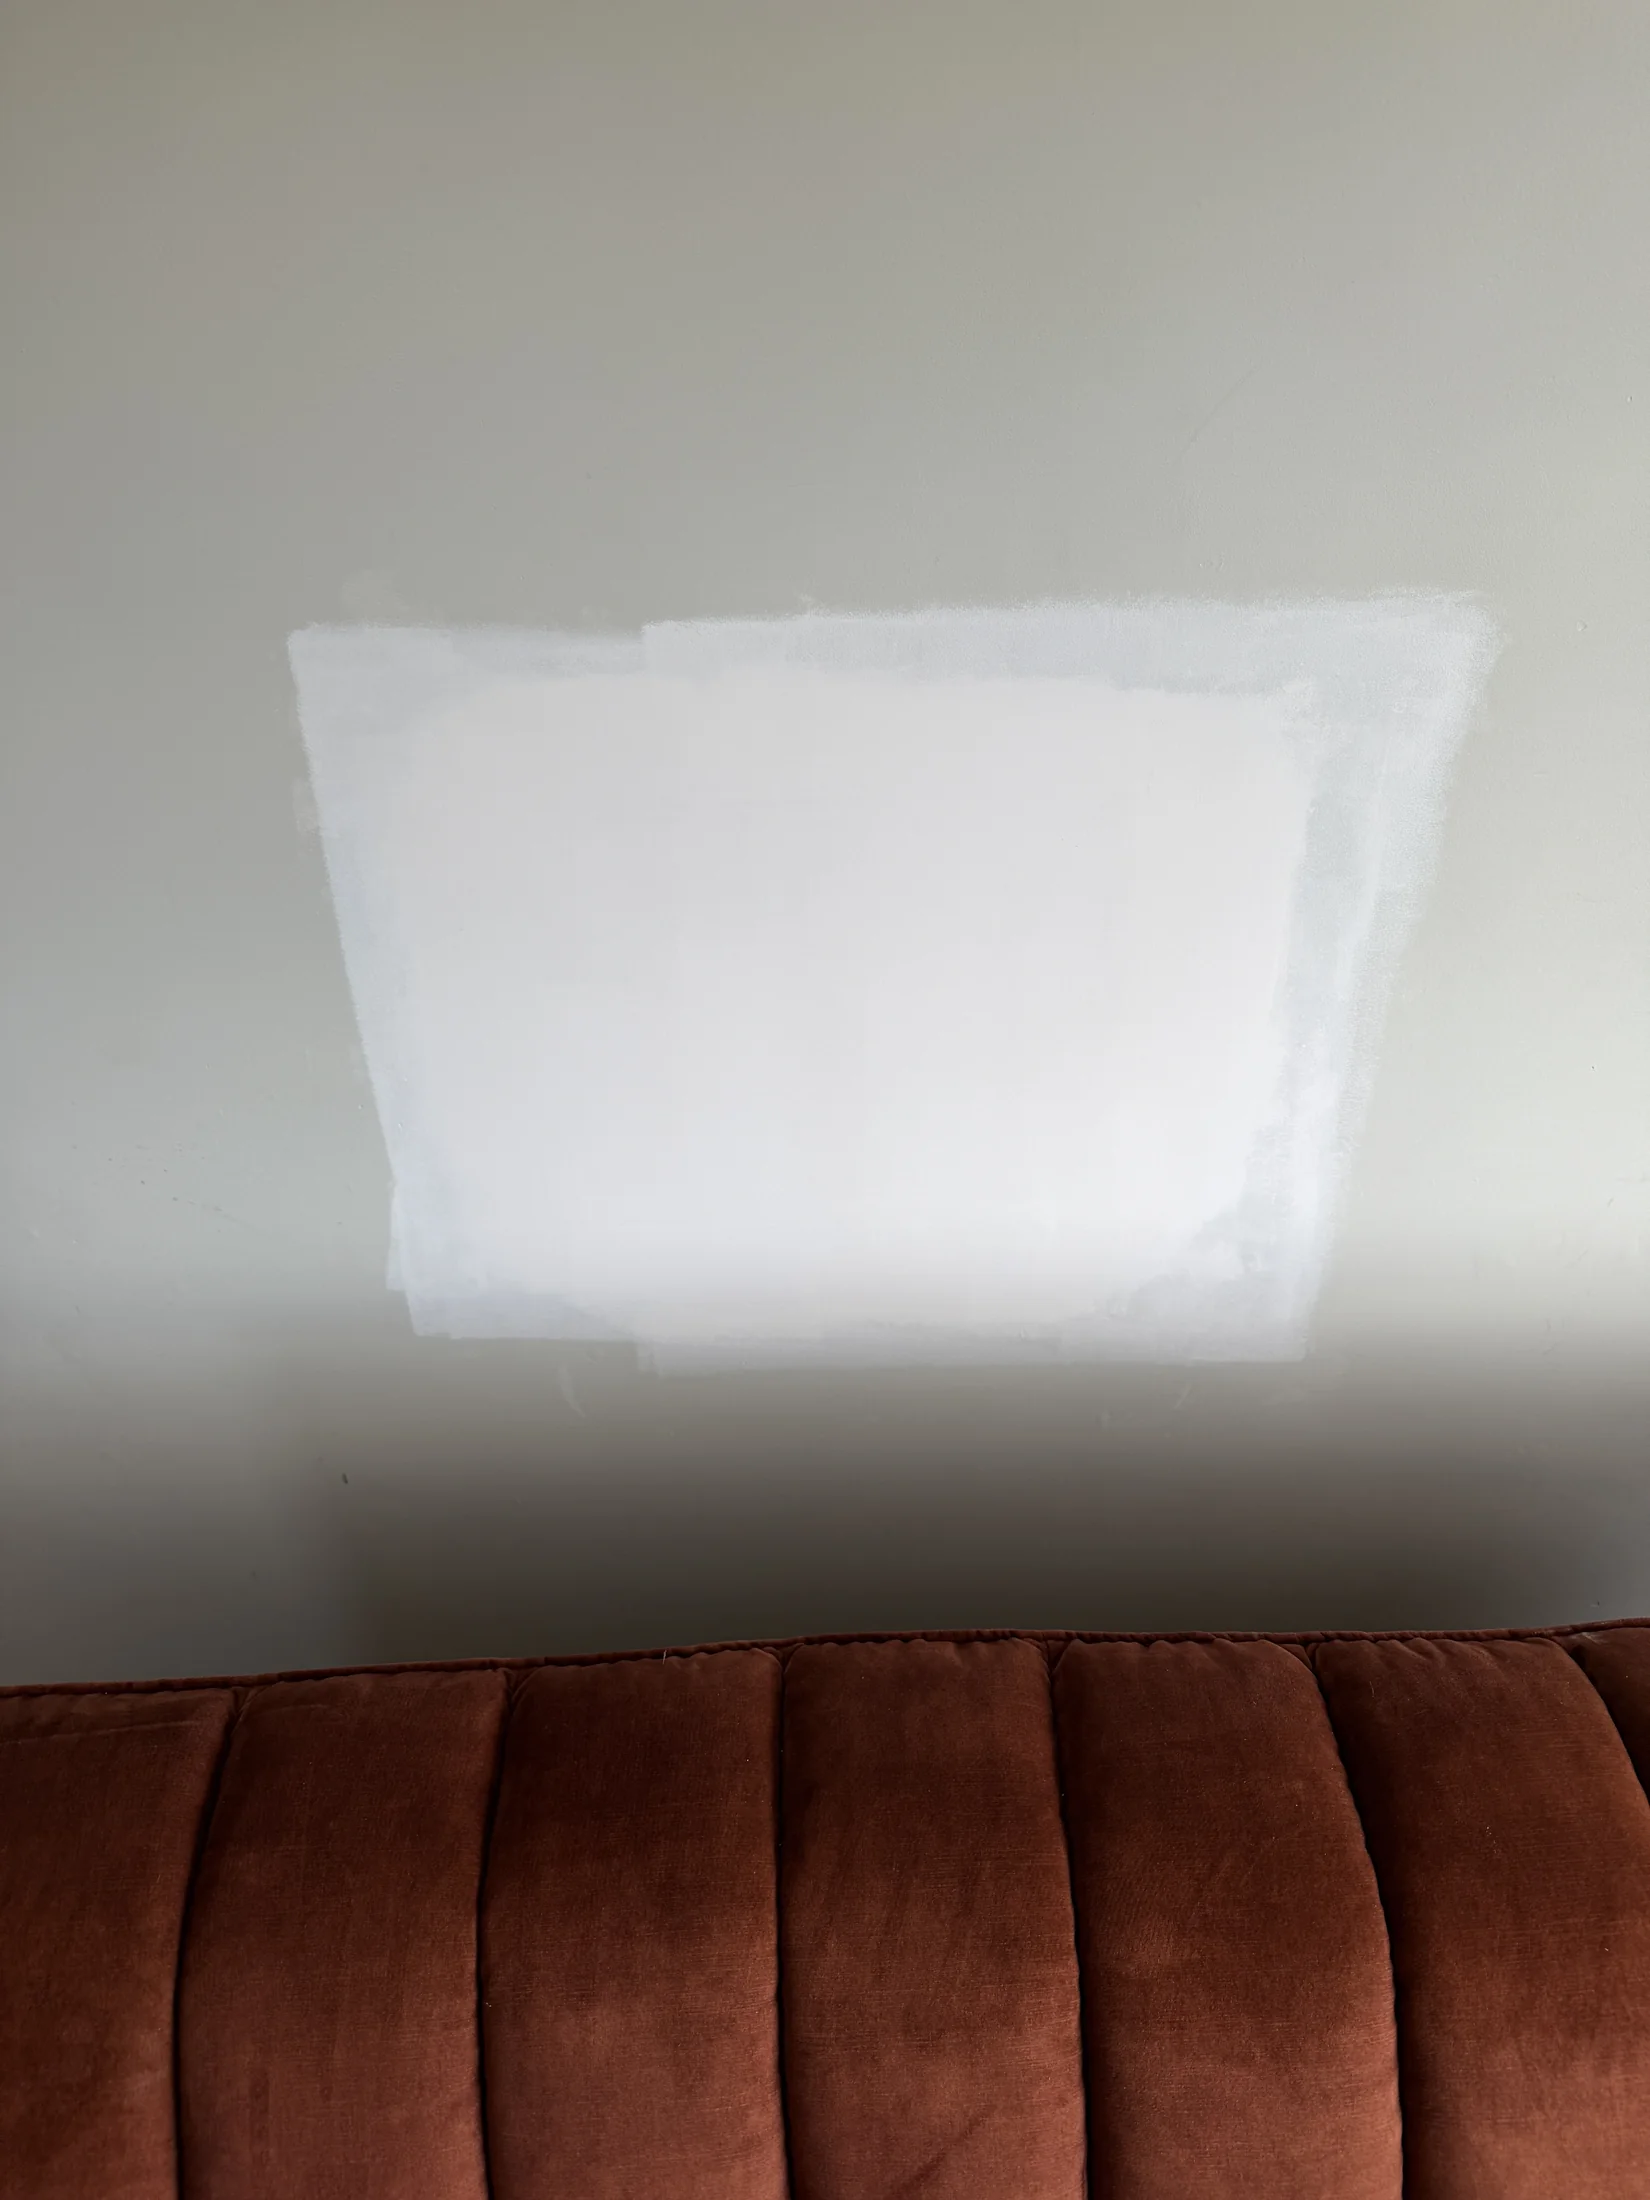
Let it dry overnight. Second coat with a wider knife (200–300mm), feathering the edges out 200–250mm from the patch. The wider you feather, the more invisible the repair. Third coat if needed for low spots. Sand lightly between coats with 120-grit on a block.
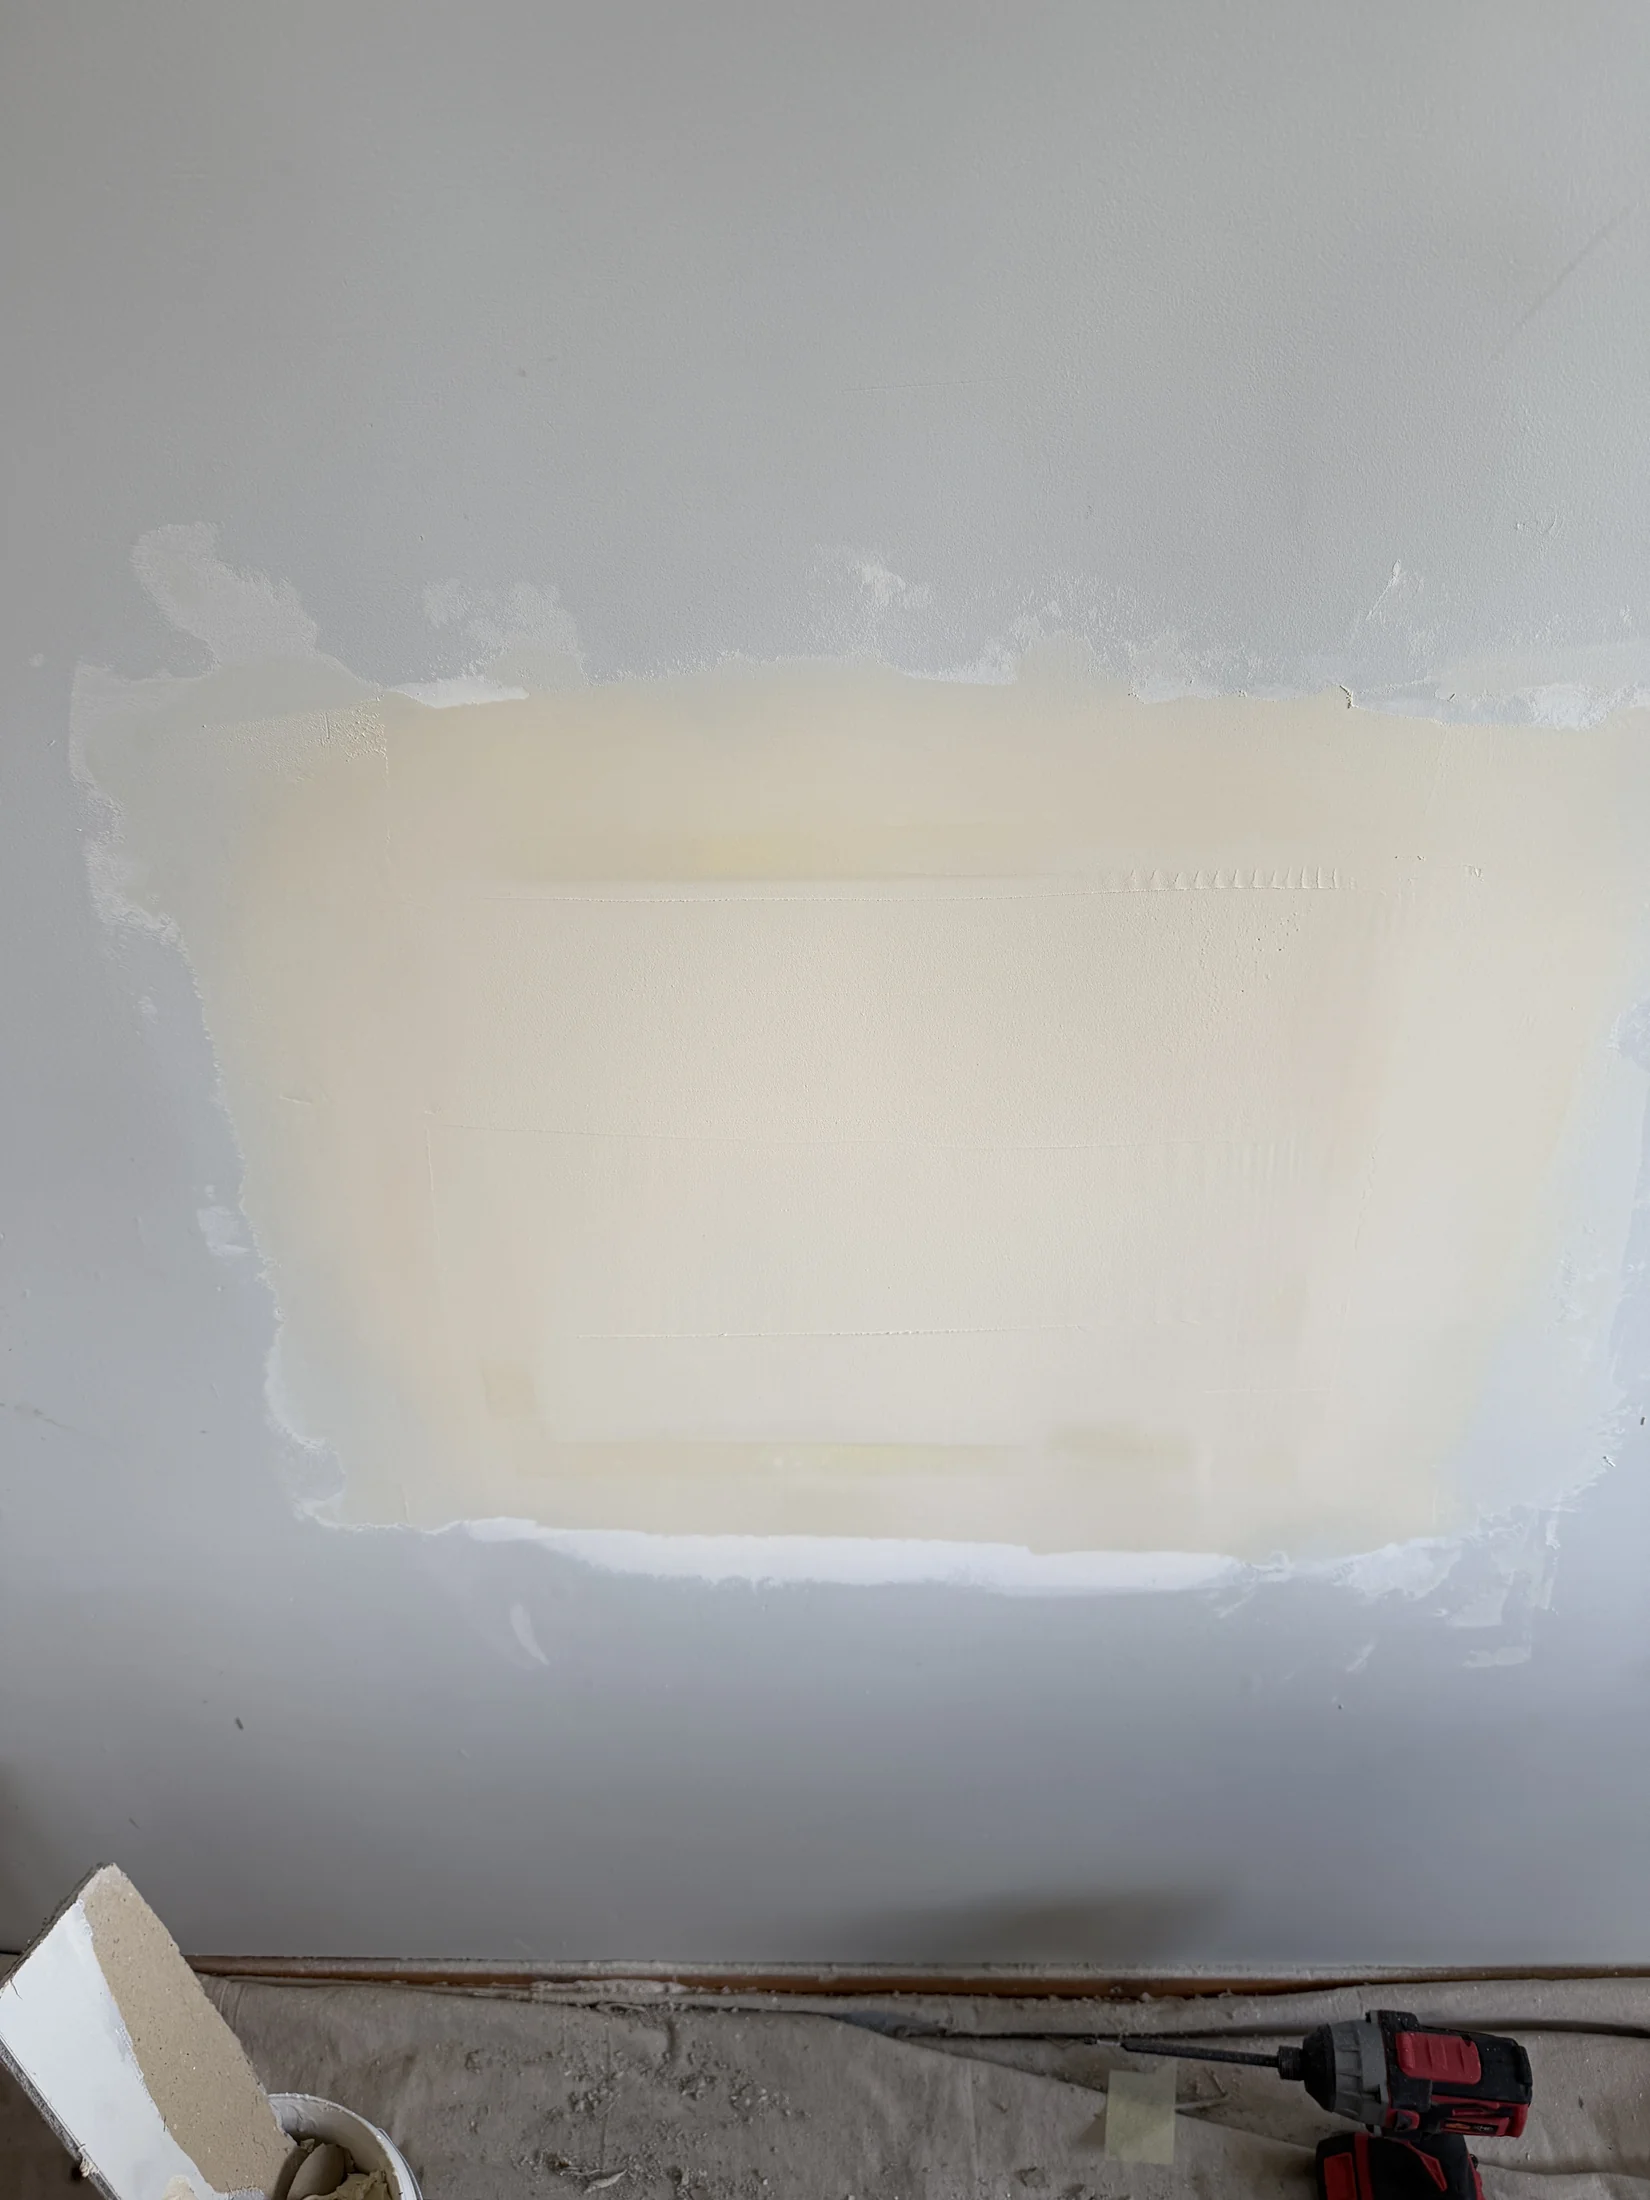
See how wide the compound is spread here? That gradual transition is what makes it disappear.
4. Prime
Once your final coat is sanded smooth, wipe the dust off and roll primer/sealer over the patch and about 50mm beyond. Don't skip this step — raw compound absorbs paint differently than the surrounding wall. Without primer you'll get a visible difference in sheen called "flashing."
Zinsser 1-2-3 or Resene Seallock both work well for this.
5. Paint
Roll your matching colour over the primed area. Ideally, paint the full wall corner to corner so the finish is consistent. Two topcoats over primer and you're done.
Don't have the original paint? Take a chip to Resene or Dulux and they'll colour-match it for you.
The Three Mistakes That Ruin Wall Patches
Too thick in one coat. Compound shrinks and cracks as it dries. Multiple thin coats always beat one thick one.
Not feathering wide enough. If your compound stops abruptly at the edge of the tape, you've got a visible hump. Spread it wide — wider than you think.
Skipping primer. The patch will glow through your topcoat like a sore thumb. Two minutes of priming saves a repaint.
When to DIY vs Call Someone
Holes up to about 200mm are very doable if you're patient. Anything bigger, across multiple sheets, or where you need a guaranteed invisible result — get a painter in. Most of us do wall repairs regularly and can knock them out fast.
If you're in the Wanaka area, the team at Lakeside Painting handles wall repairs across Wanaka, Hawea, Luggate, and Albert Town. They also cover Queenstown and surrounds if you're further south.

About the Author
Bradley Hamilton
Bradley Hamilton is a professional painter with over 15 years of experience across New Zealand. He runs Lakeside Painting in Wanaka and has repaired more dodgy DIY patches than he can count.
Comments
Join the conversation by signing in
No comments yet.
Be the first to share your thoughts!